How to Install Recessed Lighting
Installing Recessed Lights at a Glance
- Tools & Materials: Screwdriver or power drill, drywall saw, pencil, tape, 14 AWG wire nuts, wire strippers, 14 AWG electrical cable, thin wire
- Step 1: Make lighting plan
- Step 2: Turn off power
- Step 3: Remove old fixtures
- Step 4: Create ceiling layout
- Step 5: Cut holes in ceiling
- Step 6: Run electrical cables
- Step 7: Attach wires to fixtures
- Step 8: Mount light housings
- Step 9: Add bulbs and restore power
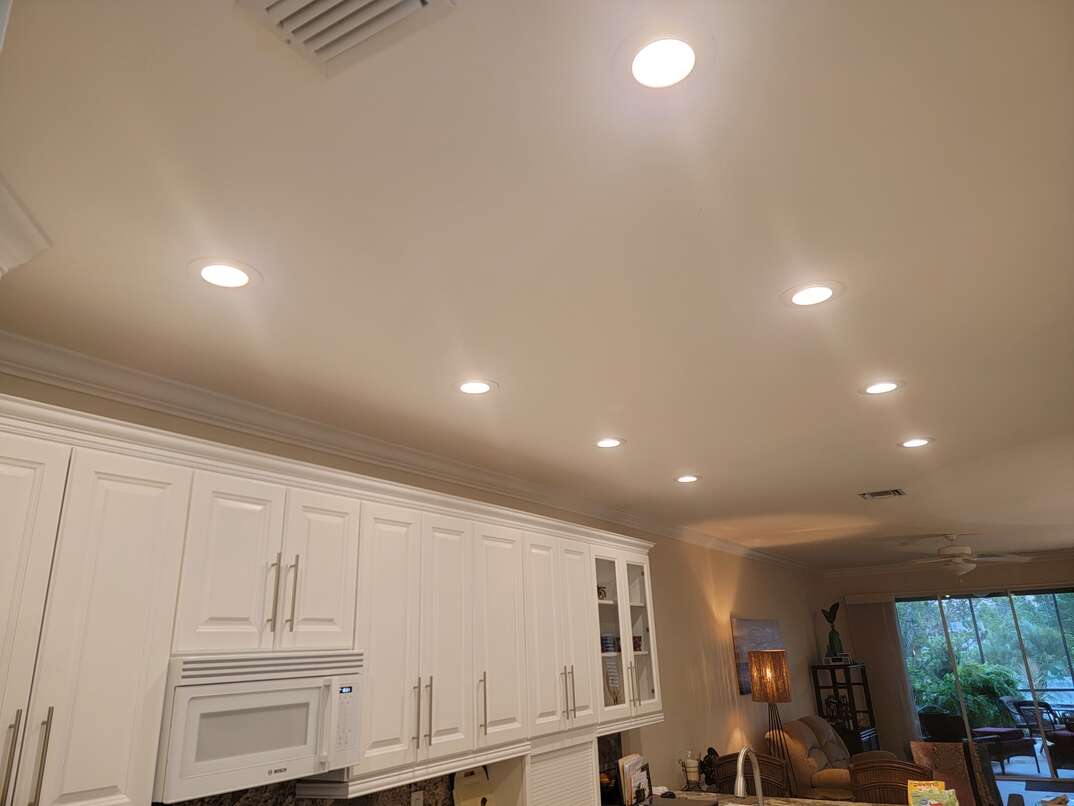
Recessed lighting — also known as canister lights — can fundamentally transform the look and feel of any space. They can increase the amount of light without taking up ceiling space, make rooms appear larger and highlight decorative features or artwork.
This May Also Interest You: How Much Does It Cost to Install Recessed Lighting?
However, depending on your circumstances, can lights can be challenging to install on your own. Read on to learn how to install recessed lighting in your home and how to decide whether it’s a task you should leave to the pros.
Can You Add Recessed Lighting to an Existing Ceiling?
When first considering recessed lighting, many homeowners worry about whether the challenge of installing them in an existing, or “finished,” ceiling is worth it — or even possible.
Fortunately, there are recessed lighting fixtures designed specifically for finished ceilings, called “remodel housings.” With remodel housings, you don’t have to cut open large sections of your finished ceiling or crawl into your attic to attach the fixture to ceiling joists like with new construction fixtures. Remodel fixtures are significantly easier to install, and they also minimize damage to your ceiling.
Do I Need an Electrician to Install Recessed Lighting?
If you’re replacing existing overhead light fixtures with recessed lighting — or if you’re installing recessed lighting in close proximity to an available power supply (i.e., an outlet box or wall switch) — you may be able to save some money by installing recessed lights yourself. However, consider hiring an electrician in the following cases:
- You’re installing recessed lights in a ceiling that’s between an upper and lower story of your home. Because there’s no attic to work from, installing recessed lights between floors often involves drilling holes into ceiling joists for the electrical cables, which can cause structural issues if done incorrectly. If you plan to drill through the joists yourself, don’t drill a hole larger than ¼ of the width of the joist.
- You have to install a dedicated electrical circuit. If you’re installing brand new lights, you need to assess whether your existing lighting circuit can handle the electrical load from the number of recessed lights you want to install. If you’re connecting to a 15-amp circuit, the combined wattage of all the lights shouldn’t exceed 1,440 watts. For a 20-amp circuit, the total shouldn’t exceed 1,920 watts. If you want to install more lights than your current circuit can handle, you may need to hire an electrician to install a dedicated circuit.
- You’re not experienced with or comfortable working on electrical wiring.
In any case, it’s strongly advised to work with a licensed electrician to ensure your recessed lighting is safely and properly installed. Otherwise, you risk facing expensive electrical repairs down the road.
Tools and Materials
- Screwdriver or power drill
- Drywall saw or power drill with hole saw attachment
- Carpenter’s pencil
- Tape
- 14 AWG wire nuts
- Wire strippers
- 14 AWG electrical cable (optional)
- Coat hanger or thin and straight wire (optional)
 -------------------------------------------
How to Install Recessed Lighting
Step 1: Make a Lighting Plan
Regardless of whether you’re installing the lights yourself or hiring a professional, you need to form a good lighting plan before getting started.
Begin by choosing what type of trim you want your recessed lights to have. While there are about a dozen trim types available, the three most common are:
- Open trim: Open trim sits flush to the ceiling, providing a simple and clean look. This style of trim is usually the easiest to install and the cheapest to purchase.
- Baffle trim: The most common type of trim, baffle trim, has the fixture’s bulb recessed inside the housing to minimize glare. To further reduce glare, you can install a dimmer switch to control the brightness of the lights.
- Eyeball trim: Also called “fisheye trim,” eyeball trim allows the light bulb to swivel with a 360-degree rotation. These trims are typically used to highlight individual pieces of artwork or other decorative features.
Next, take a look at what’s above your ceiling. Is there an attic or a second floor? If you’re installing the lights between floors, you need to verify that there are at least 8 inches of space in the ceiling cavity.
To determine this, drill a ¼-inch hole into the ceiling, and insert a straight and thin wire — like a cut and bent coat hanger — until you feel resistance. Mark the spot on the wire where it touches the ceiling, then remove the wire from the ceiling. Measure the distance from the mark to the tip of the wire. That’s the amount of space you have inside your ceiling cavity.
Standard remodel housings require 8 inches of space, which many multi-story ceilings won’t have. If that’s the case for your ceiling, you will need to use a shallow ceiling light housing instead of a standard remodel housing.
Finally, check to see if there’s ceiling insulation in the locations you want to install your lights. If so, you will need an insulation-compatible (IC) fixture. Standard fixtures can overheat if they’re surrounded by insulation.
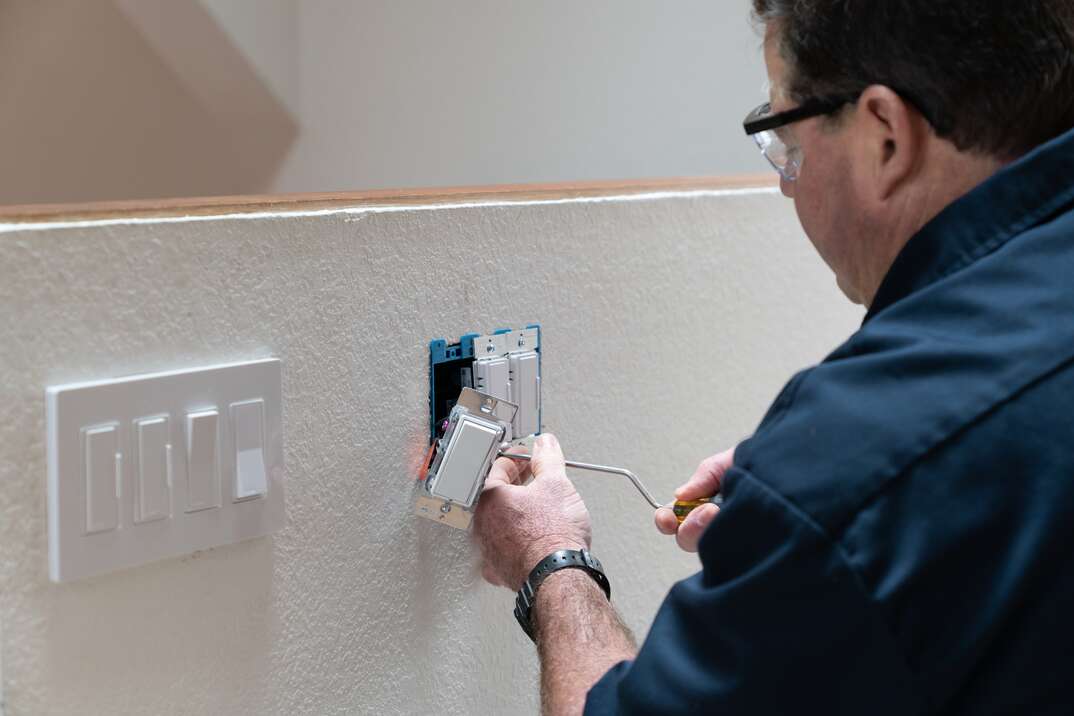
Step 2: Turn Off the Power
To eliminate the risk of electrocution while installing your lights, shut off the power to the area you’ll be working. Switch off the circuit breaker that controls the room’s overhead lighting on your home’s main electrical panel. If you can’t find the right switch, consider shutting off the power to your whole home by switching off the main breaker. You could also turn off all the wall switches in the room you’ll be working in.
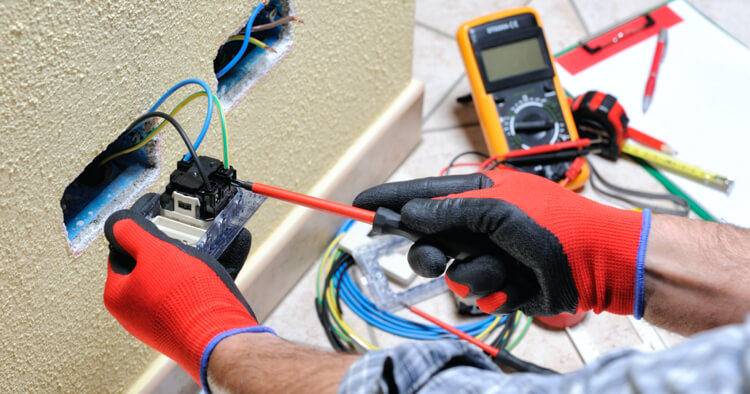
In either case, use a non-contact voltage tester on any wires you’re working with to verify they aren’t being supplied with electricity.
Step 3: Remove Old Fixtures
Carefully remove any old fixtures you will be replacing. Once removed, leave 12 to 18 inches of wire hanging from the ceiling so they can be used to wire the recessed lights.
More Related Articles:
- Do Light Fixtures Add Value to Your Home?
- How to Install LED Strip Lights: A Step-by-Step Guide
- Let’s Shed Some Light on the Situation: How to Change a Lightbulb
- How Much Does It Cost to Install Light Switch Dimmers?
- How Much Does It Cost to Install Outdoor Lighting?
Step 4: Lay Out the Light Locations on the Ceiling
Use a stud finder to identify any possible ceiling joists in the locations you want to install the lights. If no joists are present, take the paper templates that were provided by the manufacturer of your lights and tape them to the areas of the ceiling where you want your lights to go. Use a pencil to trace around the circumference of the template, then remove the template from the ceiling. Drill a ¼-inch hole into the center of the outline you drew.
If there’s an attic above the ceiling, go into the attic to see if there are any obstructions — like plumbing pipes or heating and cooling ducts — around the ¼ -inch holes you drilled. If there’s no attic, insert a thin wire with a bent end into the hole and rotate it around to feel for obstructions.
Step 5: Cut Holes in the Ceiling
Use a handheld drywall saw or a hole saw attached to a power drill to cut out the template marks, being careful not to cut or pinch any electrical wires in the ceiling. If using a hole saw, make sure it’s the same diameter as the template.
Step 6: Run the Electrical Cables
If you’re installing your recessed lights in a new location instead of replacing existing fixtures, run an electrical cable from a nearby power source to the light fixture nearest the power. This can either be from an existing outlet box or wall switch or from a dedicated circuit.
Pull 12 to 18 inches of wire down through the hole. Continue running cable to each of your light fixture locations. Depending on how many recessed lights you’re going to install, you may need to add additional lengths of 14 AWG Romex wire. If you’re replacing existing light fixtures, you should be able to use the wiring from your previous fixtures that you accessed in Step 3.
Step 7: Attach the Wires to the Fixture
If using new wiring, use a wire ripper to remove about four inches of insulation. This will expose a black, white and bare copper wire. Use a wire stripper to remove an inch of insulation from the white and black wires.
Press the wires into the fixture’s junction box (the rectangular, metal box that houses the electrical wires) and connect them to the wires inside the junction box with wire nuts. Connect the black wire to the black wire, white to white and copper to copper. After all the wires are connected, fold them into the junction box and secure the cover. Continue connecting the ceiling wires to the fixtures until all your recessed lights are wired.
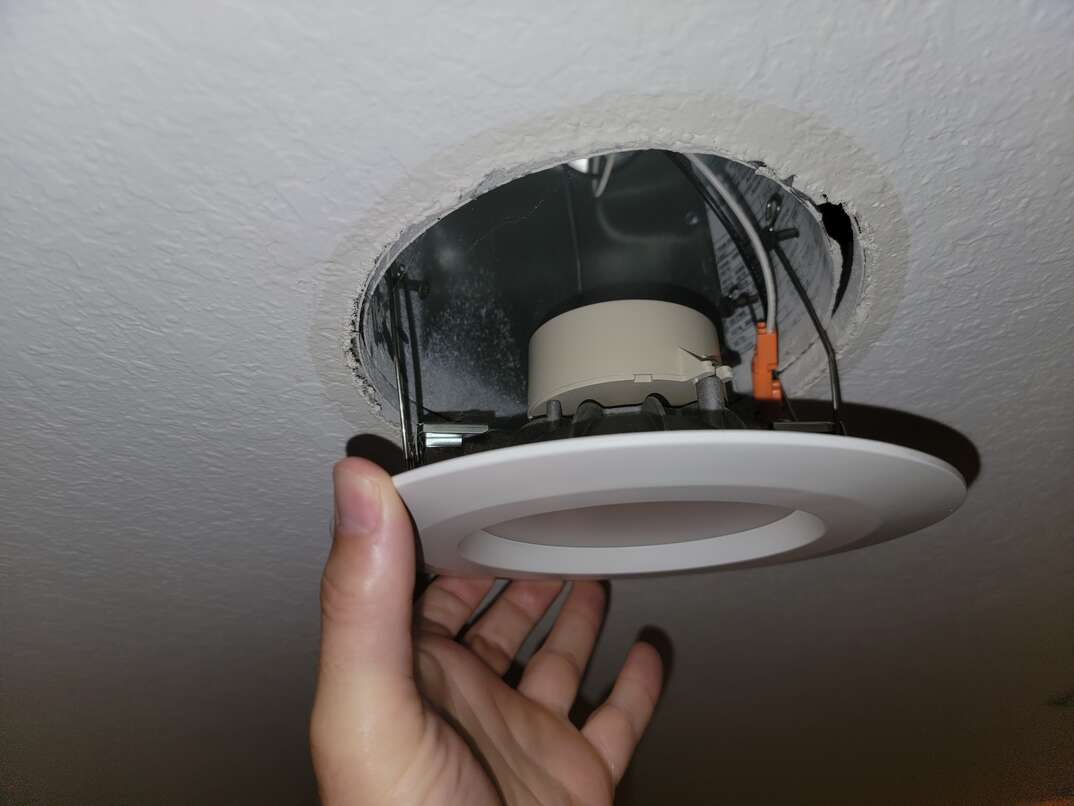
Step 8: Mount the Light Housing
Most remodel fixtures are secured to the ceiling with three or four clips that push down on the top of the ceiling’s drywall or plaster. Press or pull these clips into the fixture so they aren’t protruding out. Then, insert the fixture into the hole in the ceiling. Once the bottom lip of the fixture is flush with the ceiling, push out the clips until the fixture is held firmly in place.
Step 9: Add the Light Bulbs and Restore Power
Screw the lightbulbs into each of the fixtures and turn the power back on. Check each light to confirm they’re all working correctly.