How to Install Vinyl Plank Flooring: Your 7-Step Guide
Installing Vinyl Flooring at a Glance
- Tools & Materials: Pry bar, floor cutter, electric screwdriver, mallet or hammer, vinyl planks
- Step 1: Prep area
- Step 2: Measure
- Step 3: Cut boards
- Step 4: Lay first row
- Step 5: Install all boards
- Step 6: Tap to secure
- Step 7: Screw into place
Redoing your floors means you have endless design possibilities to choose from. There’s tile, hardwood, laminate and many more flooring options. One that stands out is vinyl plank flooring. Vinyl plank flooring brings with it a slew of benefits such as color choices, multiple styles and durability. Compared to other flooring materials, vinyl is also much easier to install. It brings the aesthetic of hardwood flooring without the high price.
This May Also Interest You: Your Vinyl Answer: Here’s How Much It Costs to Install Vinyl Flooring
Vinyl flooring can be even more affordable if you install it yourself. Follow this step-by-step guide to learn how.
Types of Vinyl Flooring
There are a few different types of vinyl flooring with varied installation techniques. No matter which type you pick, you won’t be sacrificing durability. Vinyl plank flooring is often made with click-lock technology that literally clicks and locks them together in place like a puzzle, says Sarah Londerville, owner of Manomin Resawn Timbers. These vinyl planks are super easy to install and create a tight seal between each piece for a flawless look and smooth surface.
Other types of vinyl flooring include an adhesive backing or the option to glue them in place. Felt-backed vinyl flooring requires the entire floor to have adhesive laid down first. Loose-lay vinyl flooring has a fiberglass backing instead.
Advantages of Vinyl Plank Flooring
As opposed to hardwood or tile flooring, vinyl won’t scratch, crack or dent easily. Morgan Molitor, owner of Construction2Style, says this level of durability makes it ideal for homes with kids and pets. It’s so resistant to this type of damage that it can be installed virtually anywhere, including bathrooms, kitchens and bedrooms — although you should still be careful when dragging large furniture or dropping heavy items.
Vinyl plank flooring is also quite affordable. It provides a similar authentic look to hardwood without the added costs and high maintenance required. It has a wide array of color and style options, so you can completely match your home’s interior aesthetic.
Natural hardwood flooring can be tough on the feet. Molitor explains that vinyl flooring is manufactured using much softer materials that make it super comfortable to walk on.
Do You Need Underlay for Vinyl Flooring?
If vinyl flooring is installed on top of existing cushioned vinyl flooring or tile, there’s no need for an underlay. On the other hand, since the underlay provides soft padding underneath, it’s required if you’re installing it on top of hardwood, concrete or uncushioned vinyl flooring.
 -------------------------------------------
How to Install Vinyl Plank Flooring
Tools You'll Need
You don’t need too many tools for this project, but there are a few that can make things easier. To install vinyl plank flooring, you’ll need a pry bar, floor cutter, electric screwdriver and mallet or hammer.
Step 1: Prepare the Area
There are a few things you can do to prep the floor for your incoming vinyl plank flooring. First, start by removing the baseboards. Molitor said a gentle push of a pry bar can loosen the baseboards from the wall, and a utility knife can carefully cut through any stubborn paint on the edge.
You should also clean the subfloor and remove any materials you don’t want underneath. The subfloor will also need to be level, which can be done with a self-leveler or by sanding down any wood or concrete underneath.
Step 2: Measure
You will need to get accurate area measurements to ensure you buy the right amount of planks required for the job. Before you lay the first planks, determine the width and length of the room from your starting point and compare it to the width and length of your planks. Londerville mentions you don’t want to end up using a sliver of a plank on the last row, so you may want to resize the first row to ensure that doesn’t happen.
Step 3: Cut the Boards
In order to fit the boards precisely to the area, you need to cut them. While you can cut plank boards with a knife, it’s not the most efficient (or accurate) way to do so. The best way to cut them is by using a floor cutter. Since you should now have measurements of the area, lay down the smaller boards first. You should lay the area cut on the side with the baseboards since the edge of the plank will go below it.
More Related Articles:
- What’s the Difference Between Laminate and Vinyl Flooring?
- How to Install Laminate: An 11-Step Installation Guide
- How to Remove Laminate Flooring
- How Much Does It Cost to Install Baseboards?
- How Much Does Radiant Floor Heating Cost to Install?
Step 4: Lay the First Row of Planks
As mentioned, the first planks you lay should be the smaller ones you cut, so the boards end up fitting precisely to the length of the floor. You should remove one side of the tongue from the long side of the boards, as that side will be placed against the wall. The side that was cut should also be facing the other wall. When you install the plank against the wall, leave 1/4 inch of space since it will expand and contract over time.
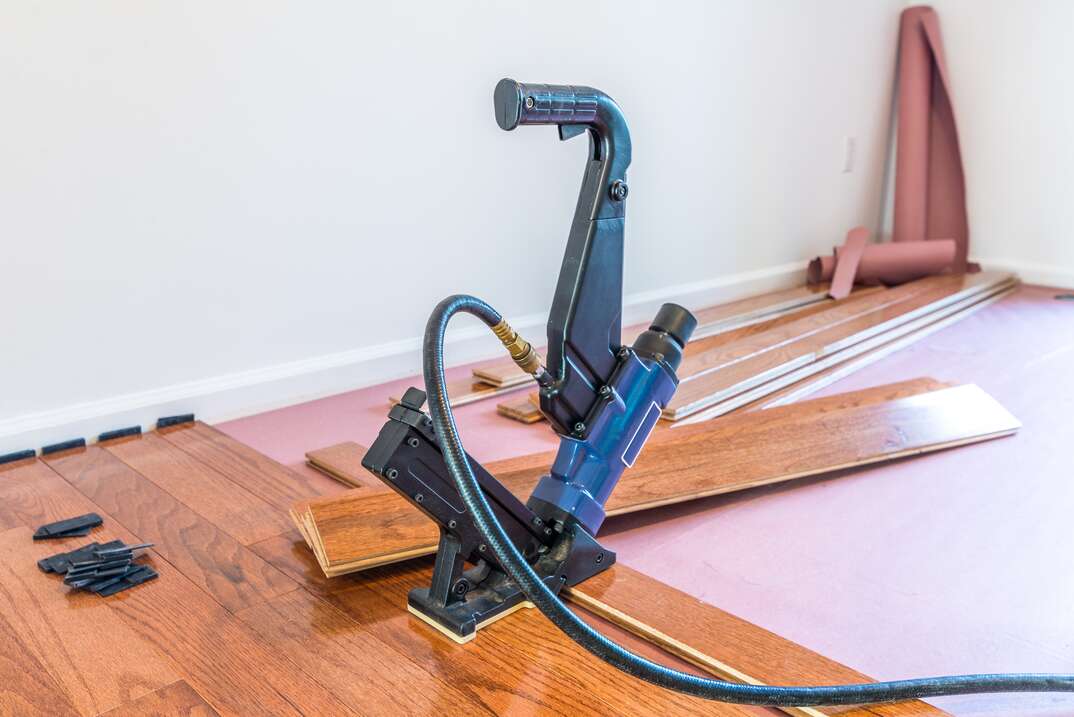
The brilliance of the vinyl plank design is the click-lock technology that makes it so straightforward to install to the plank before it. To install another plank in front of the first one, put it down at a 45-degree angle and pop it into place.
Step 5: Lay the Rest of the Boards
After the first row of planks is installed, you have two options. You can either complete an entire row and stick it next to the first row, or you can install one plank at a time. For time’s sake, it’s easier to connect an entire row and then simply attach it to the row next to it. However, this might not be possible unless you have multiple people helping you. A lot of force is required to attach an entire row of planks to the one next to it and ensure they click together.
If you’re doing this project by yourself, you will need to do it plank by plank. As you lay down each plank, attach the short side first and then the long side.
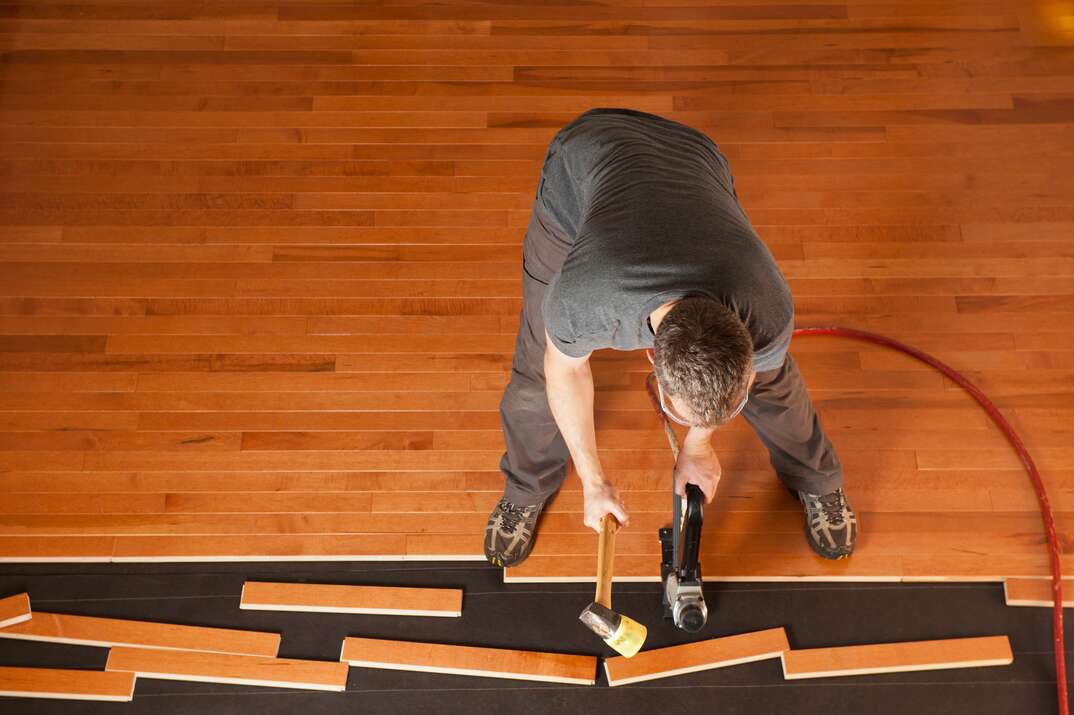
Step 6: Tap the Sides
To ensure that everything is tightly attached to one another, you will want to use a tapping block. To create a tapping block, simply cut a small, square piece from one of your planks. Use that along with your hammer or mallet to tap into the planks from the long side to help snap the joints in place.
Start by placing the tapping block next to the plank, then use a hammer to hit it, as shown here. Do this along the middle and edges of the plank. This helps ensure the boards remain tight to one another.
Step 7: Screw Into Place
As you start to tap the sides or add more boards, you might find the flooring begin to shift or move. To deal with this problem, you can actually screw it down. Starting at the row against the wall, use an electric screwdriver to add a screw every 6 to 8 inches. Once that’s done, you’ll notice that as you continue your installation process and tapping, the floor will no longer shift and remain in place.
Vinyl Flooring Care and Maintenance
One thing homeowners can enjoy about vinyl flooring is that it’s incredibly low-maintenance. Of course, you should still do the typical sweeping and vacuuming to keep it looking great — but just avoid using harsh scrubbers or chemicals so you don’t damage the vinyl.