How to Install a Nest Doorbell
Nest Doorbell Installation at a Glance
- Step 1: Add doorbell to app
- Step 2: Install chime
- Step 3: Attach mounting plate
- Step 4: Install doorbell
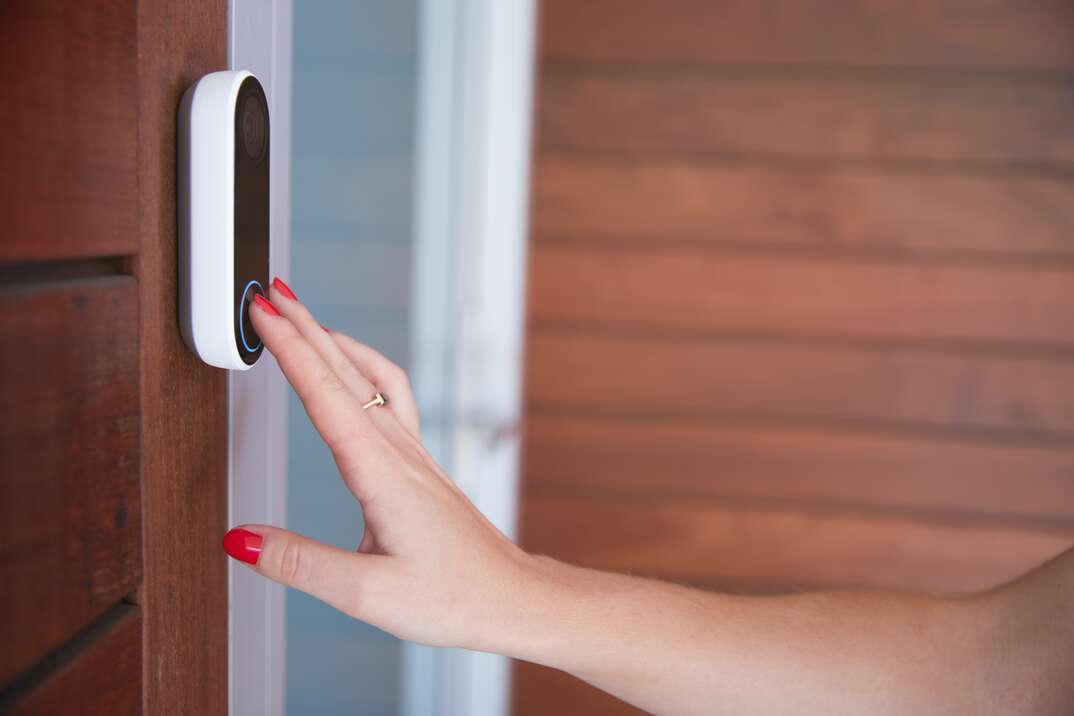
A Nest video doorbell lets you check who's calling at your home and communicate with visitors from your smartphone. It also records footage of everything that happens around your entranceway for extra peace of mind.
This May Also Interest You: How to Install a Video Doorbell
You can find step-by-step instructions for how to install a Google Nest Doorbell below.
Can You Install a Nest Doorbell Yourself?
Google Nest Doorbell installation is straightforward enough to do yourself if you already have a wired doorbell in place, or if you purchase a battery-operated model.
Before replacing your old doorbell with a wired Nest Doorbell, check that your doorbell system is compatible. Nest Doorbells require a voltage of between 16 and 24 V AC and power of between 10 and 40 VA. Most doorbell systems will be suitable for Nest Doorbell installation. However, if yours isn't, you'll need to either hire an electrician to update your wiring or use a power adapter to plug the doorbell into an indoor outlet.
Does a Nest Doorbell Require Wiring?
As we mentioned, you can choose between a wired or battery-operated Nest Doorbell. The advantage of a battery-operated model is that you won't need to wire it, but you will need to recharge or replace the batteries periodically. If you bought a wired Nest Doorbell but don't want to wire it, the solution is to run a power adapter from the doorbell to an electrical outlet inside your home.
Wiring your Nest Doorbell is relatively straightforward, but it's important to switch off the power supply to your doorbell system at the circuit breaker to prevent electrocution. If you're not confident in your ability to wire your doorbell yourself, consider calling an electrician to do it for you.
Can You Install a Nest Doorbell Without an Existing Doorbell?
If you don't have an existing doorbell and don't want to pay for an electrician to set up an electrical connection, your best option may be to purchase a battery-operated Nest Doorbell and mount it on your exterior wall without any wiring.
How Do You Install a Nest Doorbell?
The instructions below explain how to install a Nest Doorbell by wiring it. If you have a battery-operated Nest Doorbell, you can skip the wiring steps and simply install your doorbell on your exterior wall using the mounting plate.
Step 1: Add the Doorbell to the Nest App
If you haven't already, download the Google Nest app to your smartphone or another handheld device and sign in using a Nest or Google login. You can create a Gmail account to log in if you don't already have one.
Once you've signed in, click the “Add Product” button, and use your device's camera to scan the QR code on your new Nest Doorbell. You can find it on the rear casing. If scanning the QR code doesn't work, there's also an option to add the registration number manually.
More Related Articles:
- How to Install or Replace a Doorbell
- How Much Does It Cost to Install or Replace a Doorbell?
- How to Set Up a Ring Doorbell
- How Much Does It Cost to Install a Ring Doorbell?
- Take a Ring Off It: How to Remove a Ring Doorbell
Step 2: Install the Chime
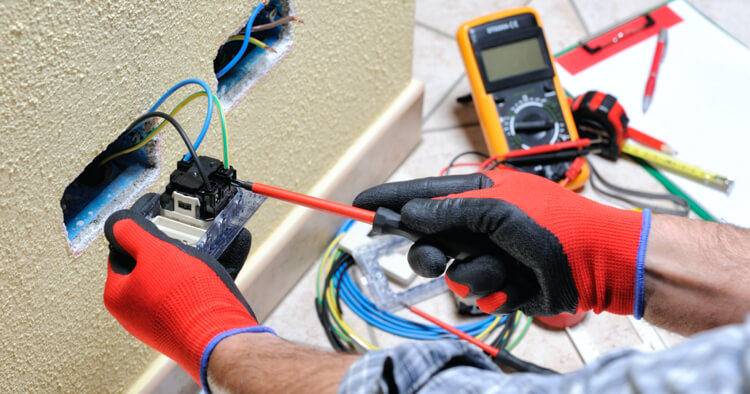
Before installing your chime and doorbell, switch off the circuit at the breaker box and check the wires with a voltage detector to ensure that there's no electricity running through them. Otherwise, you risk an electric shock when you start working with the electrics.
Find your existing chime box and take the cover off. Check the wire configuration inside the box and click the matching image in the Nest app. The app will then give you instructions on how to wire the gray chime unit included in the box for your particular configuration.
The app will instruct you to disconnect one or more wires. Carefully straighten the disconnected wires and check that there is around a quarter of an inch of exposed metal, trimming it with clippers if necessary.
Finally, attach the chime unit inside or outside your chime box by removing the tape from the sticky strip and pushing it firmly against the surface you want to attach it to. Ensure that it sits well clear of any wires and doesn't touch any other parts of the chime setup. You can now put the cover back on your chime box.
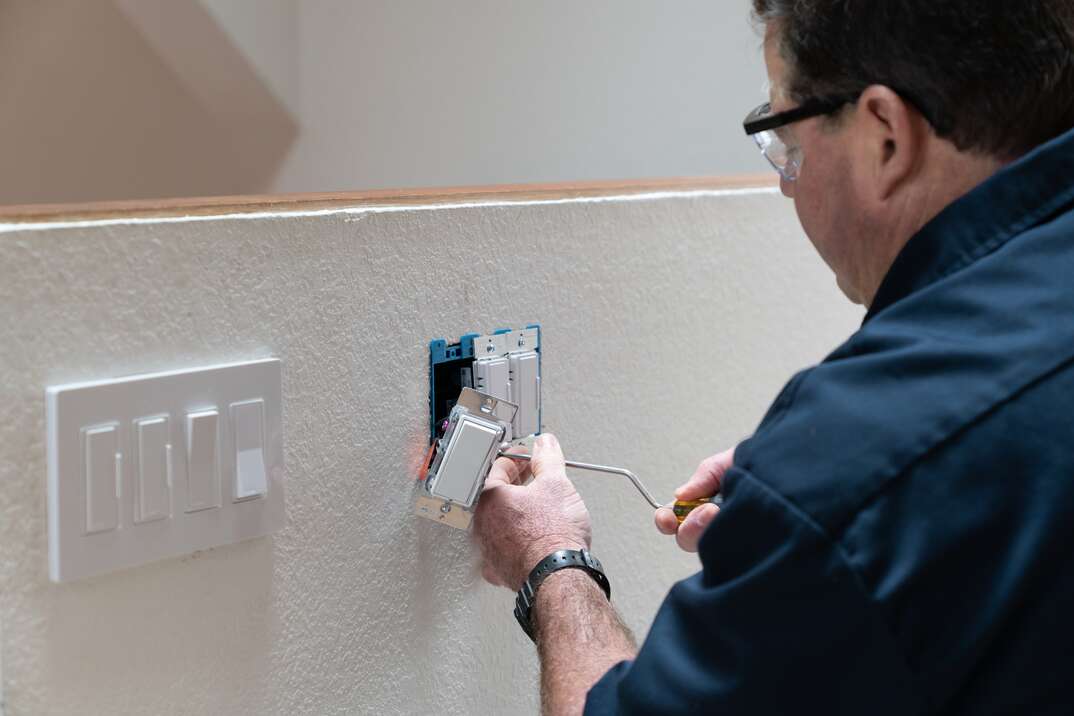
Step 3: Attach the Mounting Plate
Use a screwdriver to remove your existing doorbell and disconnect the wires. It's a good idea to attach the wires to the exterior wall using masking tape to avoid losing them down the exposed hole.
Next, place your wall plate over the hole so that the wires feed through the center. It's important to check that the writing on the plate is the correct way up. Use a pencil to mark the wall for each screw hole so that you know where to drill.
Attach a 3/32nd-inch drill bit to your drill and use the pencil marks to make two holes in your exterior wall. You can then place your wall plate on the wall and screw it into place, ensuring that it's the right way up and that the wires come through the hole unobstructed.
Step 4: Install the Doorbell
Attach the wires to the screws on your Nest Doorbell, ensuring they don't touch each other. It doesn't matter which wire you attach to which screw. You can then reinsert the wires into the hole in the wall and push your doorbell downwards onto the mounting bracket until it clicks.
Finally, turn the power back on. Follow the instructions on the Nest app to connect your doorbell to your Wi-Fi and finish the setup process.