How to Install a Google Nest Learning Thermostat

Google Nest Learning Thermostat Installation at a Glance
- Step 1: Remove old thermostat
- Step 2: Mount Nest thermostat
- Step 3: Connect to Wi-Fi
A major attraction of the smart home revolution is the ability to use a single control panel to manage all sorts of home functions that used to run separately. The heating and cooling systems that make your home comfortable are one of the biggest considerations, especially now that those systems can be "smart" enough to learn your patterns and run only at the most needed times, minimizing waste and saving money.
This May Also Interest You: How to Install a Nest Thermostat
This is why a smart thermostat can be a key asset in a modern home. The Google Nest brand is a popular choice. Learn how to install a Google Nest Learning Thermostat below.
Getting Started
The stages of installing a Google Nest thermostat are fairly straightforward and use tools that you're likely to have on hand. Once you've run a compatibility check with your home's HVAC system, you can unbox your new thermostat and make sure that all the items are there. These include:
- Display, base and trim plate
- Steel plate
- Mounting screws and wiring labels
- Nest screwdriver
 Installation and welcome guides
- Pro installation card
The main tool you'll need is a Phillips screwdriver, which will usually come with your Nest thermostat (that's the "Nest screwdriver" above). You will also need a screwdriver of the right size and type to unscrew your existing thermostat.
You'll need to download a copy of the Nest app, which provides guidance for the installation process and can be acquired from Google Play or the Apple App Store. Once you have the app running on a mobile device, tablet or laptop, you can begin the installation process.
How to Install a Google Nest Learning Thermostat
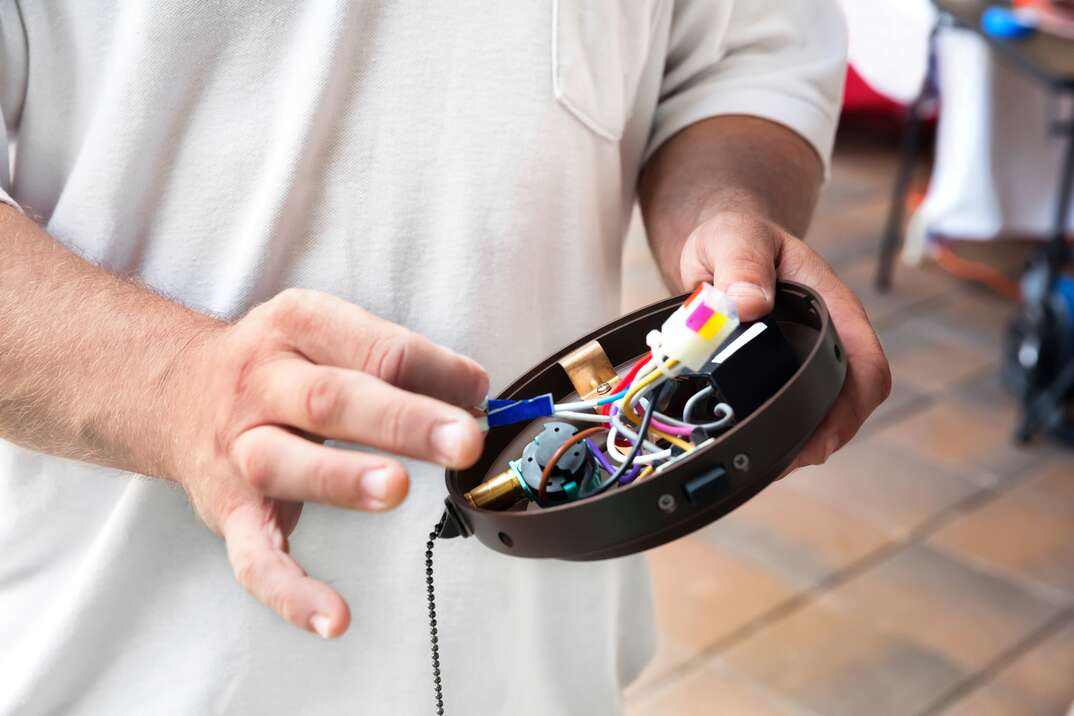
Step 1: Remove Your Old Thermostat
Switch off the old thermostat by toggling the appropriate circuit breaker, and switch off all circuit breakers connected to your home's HVAC system. Remove the old unit's display and consult the Nest app. It will quiz you about the wiring setup of that thermostat. Once you've answered these questions, you can disengage the unit.
The Nest comes with blue stickers that you will be able to attach for labeling the four wires leading into that thermostat, each of which will be dedicated to a specific port.
Once you've carefully removed these wires from your own thermostat, you can unscrew it from the wall and remove it.
Step 2: Mount Google Nest
Mark the position to be taken by your Google Nest Learning thermostat, level it using the small onboard bubble level and mark the new screw holes with a pencil. Install the trim plate that comes with the unit if you'd like to conceal any screw holes from the old thermostat, and then attach the Nest base to the wall.
Once you've done this, consult the Nest app, which should provide you with a custom wiring guide for installation. Connect the wires you labeled earlier to the Nest, and attach the Nest's display.
With all of this in place, you're ready to restore the power to your thermostat and HVAC system. Reset your circuit breakers accordingly.
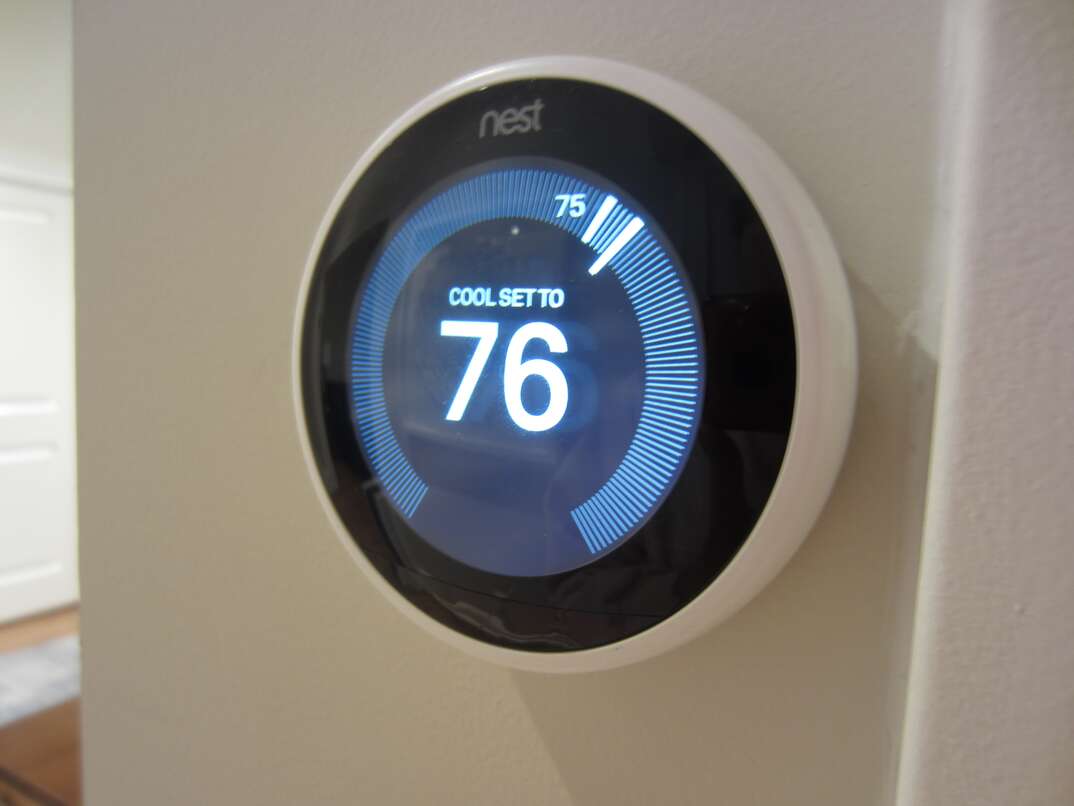
Step 3: Connect the Thermostat to Wi-Fi and Complete Setup
Once the thermostat is powered up, instructions on its display will guide you to finding your wireless network and entering the appropriate password. Once the thermostat is connected, an on-screen setup will guide you through some further simple steps, including:
- Updating the thermostat's firmware
- Checking that the wiring is properly connected
- Registering the type of power your HVAC system is using
- Letting Nest know its location in your house
The final step is setting your preferred temperatures for when you're home and away. With your Google Nest Learning Thermostat connected and set up and the Nest app running on your mobile or another device in your home, you're ready to begin making use of its controls and third-generation learning capabilities.
More Related Articles:
- How to Install a Nest Doorbell
- How Much Does It Cost to Install a Nest Doorbell?
- How Much Does Google Net Hub Cost?
- Smart AC Not a Dumb Idea If You’re Looking to Cut Climate-Control Costs
- Heat Check: The 5 Best Smart Thermostats for Your Home
 -------------------------------------------
FAQs
Can You Install a Nest Learning Thermostat Yourself?
Yes. Although it's perfectly possible to have a Nest thermostat professionally installed, most homeowners should be able to handle a Google Nest thermostat installation as a DIY project. It takes about half an hour.
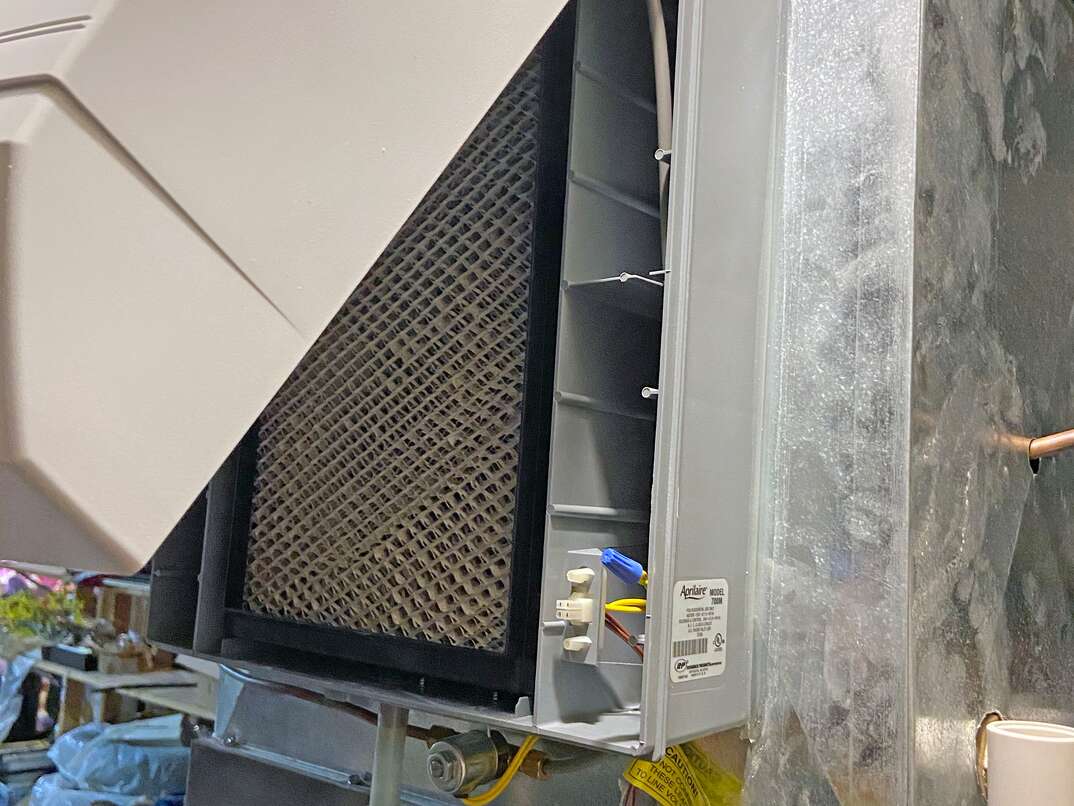
How Do I Know If the Nest Learning Thermostat Is Compatible With My HVAC System?
Before you take your Nest thermostat out of the box, run the compatibility checker widget to make sure that your home's HVAC system is compatible with Google Nest.
How Many Wires Does Nest Learning Thermostat Need?
Typically, four. This is parallel to the standard four wires that most standard thermostats use.
Does a Nest Learning Thermostat Need to Be Hardwired?
Yes. To run your home's HVAC systems, it needs to be wired into your home's power supply to ensure continuous function. Although the Google Nest Learning Thermostat does have an onboard battery system designed to cope with short power outages, this isn't adequate for operating the device over any length of time beyond a few hours.
Can I Install a Nest Learning Thermostat Without a C-Wire?
Most thermostat units have four wires that are easily connected to a replacement Nest thermostat. Some, however, may lack a C-wire, also called a "common" wire. Fortunately, it is possible to connect a Google Nest unit to such an arrangement by using a C-wire adapter, an item widely available at numerous retailers. However, such workarounds might prove less than reliable in the long run.