How to Install a Paver Walkway: Follow the Steps
Installing a Paver Sidewalk at a Glance
- Step 1: Plan walkway
- Step 2: Build paver base
- Step 3: Lay pavers
- Step 4: Add sand to joints
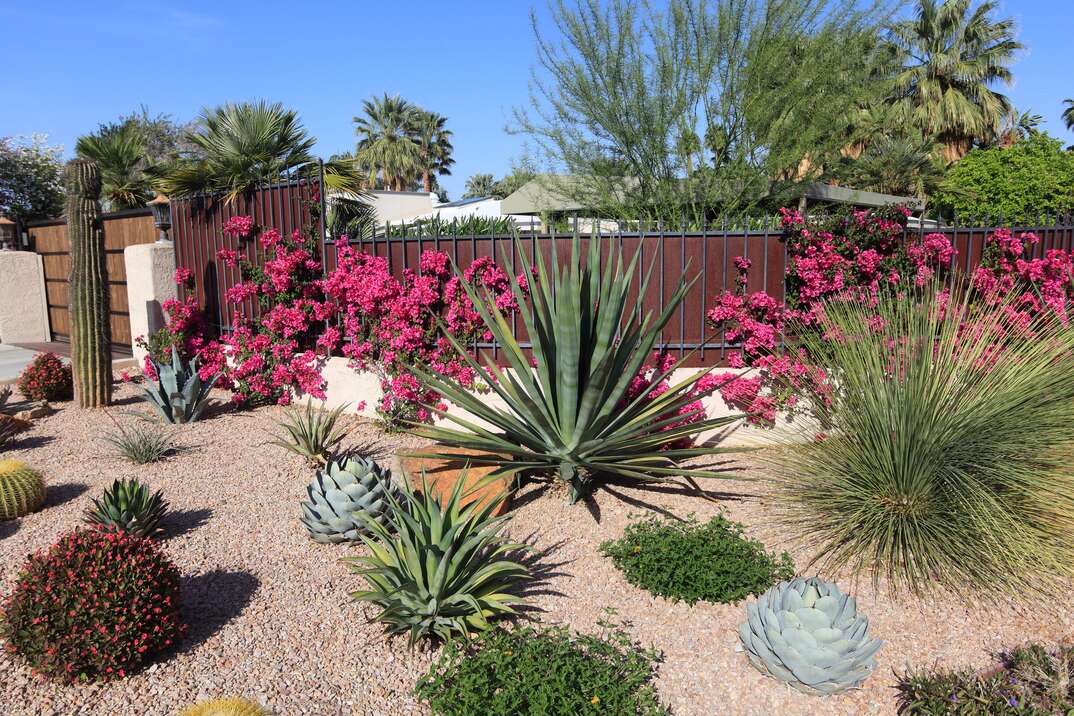
A paver sidewalk is a great way to add a bit of design and curb appeal to your landscape. Furthermore, it provides convenient access to your home. The last thing you want is visitors trampling all over your beautiful grass and destroying it just to reach the house.
This May Also Interest You: How to Pour a Concrete Sidewalk
Installing a paver walkway is something many homeowners can do by themselves without the help of a professional landscaper. This DIY project can be completed over a long weekend. Here’s how.
----------------------------------------
Paver Walkway Vs. Concrete Walkway
When it comes to sidewalks, there are several options that homeowners can choose from. A concrete walkway is one of the most popular options, as it’s durable, low maintenance and looks good. However, it tends to crack as time goes by and has to be completely removed and replaced, which is very costly. While some patching can be done along the way, once the concrete begins to crumble, a full replacement is in order.
Pavers, on the other hand, don’t crack over time like concrete. And if you notice that one or two of them have cracked from accidentally dropping something heavy on them, you can easily pop them out and put in new ones. This is the biggest advantage a paver walkway has over a concrete one. If you want to use concrete because you like its aesthetics and durability, then you might want to consider installing a concrete paver walkway.
The Anatomy of a Paver Walkway
A traditional paver sidewalk is simple and consists of a couple of layers. Starting from the bottom, you have a 7-inch layer of crushed gravel. Gravel is one of the cheapest paver base materials out there. And a gravel base is important because it effectively creates ground tension, which prevents the sidewalk pavers from sinking. It also prevents water from pooling underneath the pavers, which can cause them to shift. After the base of crushed stone, a 1.5-inch layer of bedding sand needs to be applied.
Next come the pavers themselves, followed by polymeric sand applied in the joints (empty spaces between the pavers). The polymeric sand acts as a bonding agent that holds the pavers together once it is sprayed with water.
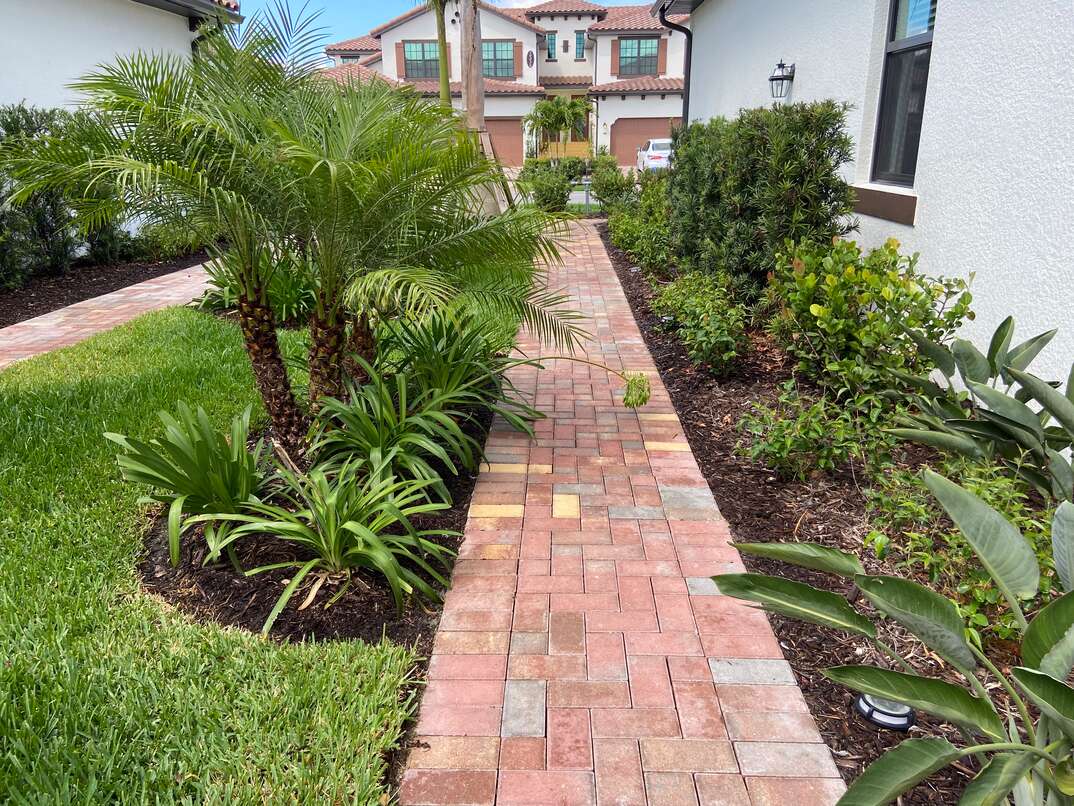
Step 1: Plan and Prepare the Walkway
To start creating your DIY paver walkway, you’ll need to mark the layout of the path. If it’s a straight walkway, you can get away with stakes and string to mark the course. However, if there are curves along the path, you’ll need to use two long pieces of rope to mark it out. Make sure the walkway width is even by measuring it with a tape measure along the path and making adjustments. Speaking of width, to allow two people to walk comfortably side by side, an ideal measurement is between 36 and 48 inches. With the course laid out, use a shovel to dig a slash in the ground that marks the perimeter. Now, you’re ready to start building the paver stone walkway base.
 -------------------------------------------
Step 2: Build the Paver Base
First, you’ll need to dig a trench. To determine the depth of the trench, simply add the height of the paver to the height of the base (about 8.5 inches). Getting the height right is where a lot of DIYers make a mistake. If the trench is not deep enough, the base will not be solid enough, which will cause problems in the future.
Using a shovel, dig to the desired depth while removing all the dirt, rocks and sod from the trench. Also, make sure you dig the trench a little wider than the walkway. Next, you’ll need to rent a plate compactor to tamp the ground. This will compact the surface and make it level. If you can’t rent a plate compactor, you can use a hand tamper instead, although it will need a little elbow grease.
When the ground is level, pour the 7 inches of crushed gravel into the trench to create a stable base for the walkway. Spread the gravel around with a metal rake, wet it with a hose and tamp it down some more. It is critical to get this part right, so take your time.
Next comes the layer of sand bedding. To spread it uniformly, lay two 1.5-inch PVC pipes along the outer edges of the gravel base and pour a layer of sand between them. It is important to work in sections at this juncture. Grab a 2-inch by 4-inch board the length of the walkway area and drag it along the pipes (they will act as a rail for the board) to smoothen the area. This is a process known as screeding. When you remove the pipes, they will leave imprints in the sand. Fill them up with sand and smoothen them out with a hand trowel. Finally, spray the sand with a fine mist for it to bond.
More Related Articles:
- Is a Concrete or Asphalt Driveway Cheaper?
- Weeds, Whacked! 5 Ways to Kill Weeds in Your Driveway or Sidewalk
- Non-Salt Awesome Sauce Alternatives for De-Icing Your Driveway
- How Much Does It Cost to Install a Patio?
- How to Build a Patio: 9 Steps to a Backyard Paradise
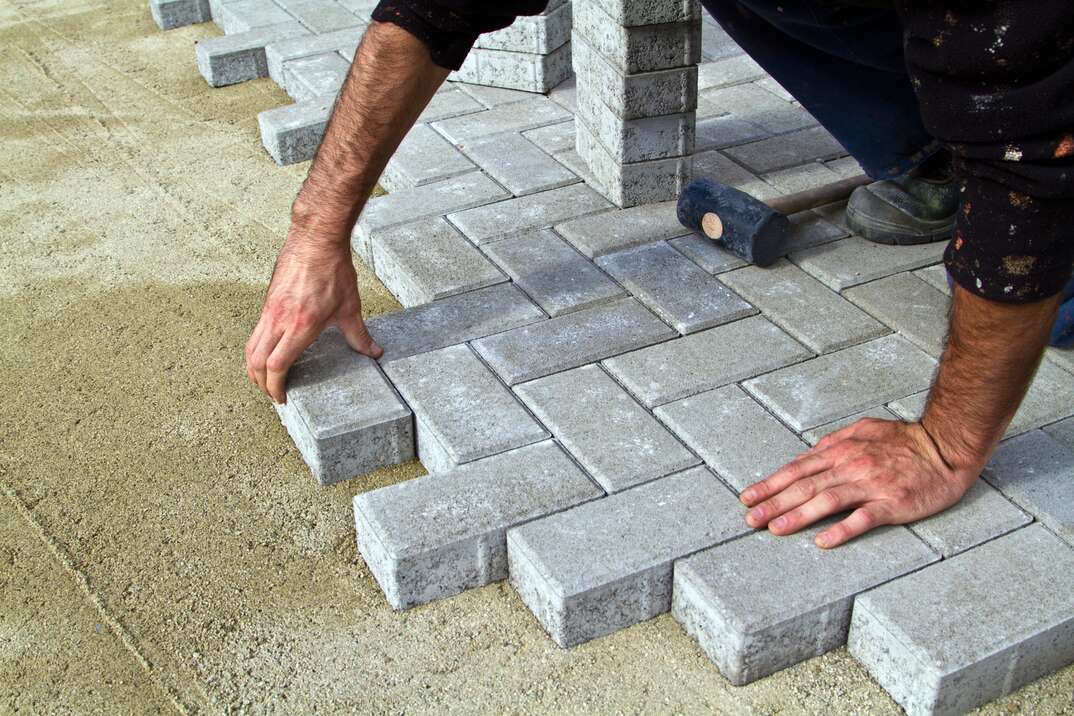
Step 3: Lay the Pavers
Need pattern ideas for your sidewalk? You can find plenty of good paver sidewalk ideas on sites like Pinterest, Juxtapost, Dribbble and Dudepins. However, common brick paver sidewalk designs include the running bond pattern, stacked bond, single basketweave and herringbone. This walkway is going to use the running bond pattern, which is one of the easiest walkway paver patterns to install. With the running bond, each alternating row begins with a half block. This allows you to stagger the joints, making the paver surface stronger and more resistant to buckling and gapping. It also makes it easier to create a slight gentle curve when needed.
Start laying the pavers one by one and use a rubber mallet to tap them in place. If you need to cut the paver to fit somewhere or to form a curve, first measure and mark it and then use a concrete saw or wet saw with a concrete blade to do the cutting. Safety is important here, so make sure you’re wearing goggles and work gloves while slicing the pavers.
As you finish each section, install plastic paver edging to lock the pavers in tight. Make sure you insert a spike into the edging every 12 inches along the walkway. Continue laying the pavers until you finish the entire walkway area.
Step 4: Sand the Joints
With pavers laid out, it's time to complete the paver walkway by pouring polymeric sand liberally onto the walkway. Make sure the sand goes in between the paver joints to create an effective bond. Sweep the sand into the joints with a broom to make sure the sand is spread evenly, then use a leaf blower to remove any excess sand. Finally, spray the paver walkway with a fine mist of water to activate the polymeric sand and bind the pavers.
Walking the Perfect Path
Now that your paver walkway is installed, you can go ahead and add in some finishing touches. That way, it will serve as a nice lead-up to the main residence or backyard. For example, you can spread some mulch along the perimeter, plant some flowers and install landscape lighting. This will ensure your new paver walkway is both easy to see at night and attractive no matter the time of day.