How to Install a Portable Air Conditioner
When those summer temperatures start rising, there’s nothing like stepping into a cool, air-conditioned house to escape the heat. But as nice as central air conditioning can feel on those sweltering summer days, running it on full blast all summer long can quickly lead to much higher energy bills. What’s more, it’s not always necessary to keep every room of the house perfectly cool all of the time. In many scenarios, it might be more energy efficient to simply keep certain rooms cool rather than cooling your entire home.
This May Also Interest You: 10 Ways to Make Your Central Air Conditioner More Efficient
That’s where portable AC units come in. Installing a portable AC unit in a room is a great, efficient way to enjoy the benefits of air conditioning without the high energy costs often associated with central air conditioning systems.
A portable AC unit can be a great solution for those who live in small apartments where central air conditioning isn’t available. For people in homes where installing a central air conditioning unit is impractical, portable ACs are a versatile option that can cool your home relatively inexpensively. And even if you have central air, they can provide extra cooling power for rooms that tend to get warm.
How to Install a Portable Air Conditioner
Looking to install a portable AC unit in your home? Luckily, it’s a fairly easy process that doesn’t require any special tools or knowledge. Keep in mind that the instructions below are general instructions only. Installation varies depending on the manufacturer, so be sure to check the instructions that came with your unit.
Tools and Materials Needed
- Screwdriver
- Measuring tape
- Utility knife
- Foam weatherstripping (optional)
- Duct tape (optional)
Step 1: Choose the Right Location
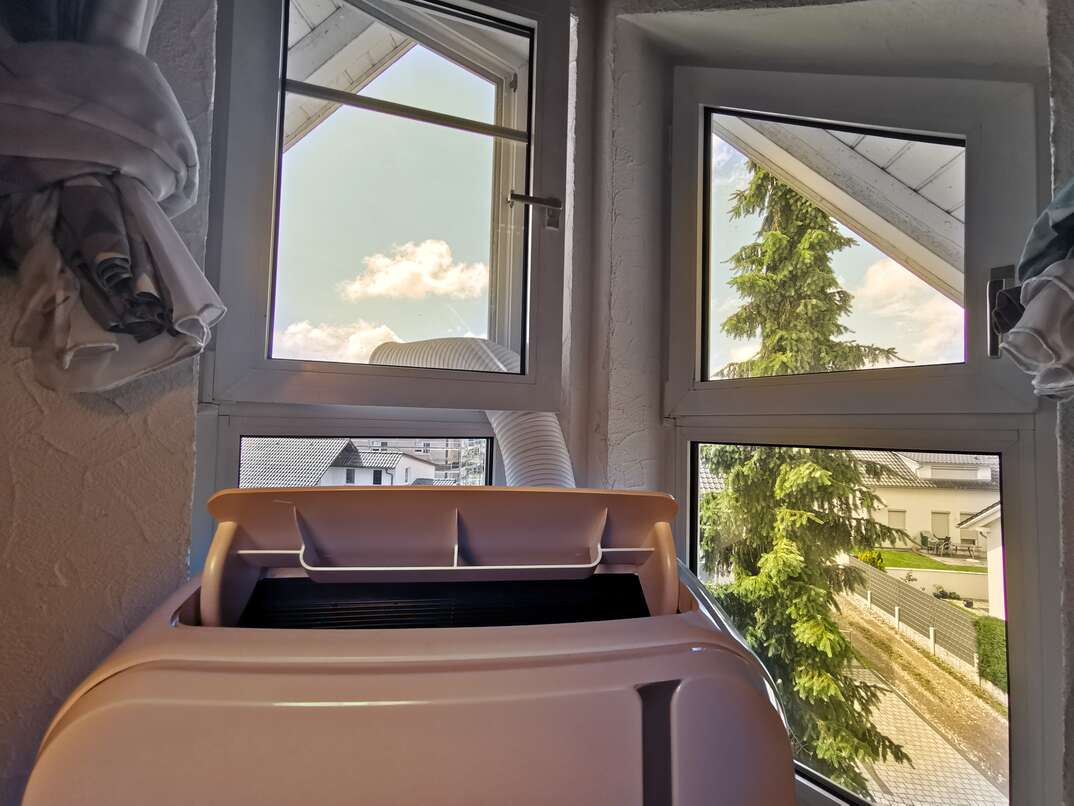
Although portable AC units are more versatile than their window unit counterparts, they still require close proximity to a window in order to vent hot air outside. Find a window that’s big enough to accommodate the exhaust hose and the AC unit’s window kit.
Portable air conditioners also need adequate space in order to maintain efficient cooling and optimal performance. In the best-case scenario, the portable AC unit needs at least two feet of unobstructed floor space around it to receive the correct amount of airflow and keep it from overheating.
Step 2: Examine the Window Kit
Portable air conditioners need to be vented out of a window in order to remove the hot air created during the cooling process. Not doing so will keep the unit from functioning properly, ultimately affecting its ability to maintain adequate cooling. In most cases, portable AC units will come with a window adapter kit to install in the window opening, allowing the exhaust hose to be secured in place without any gaps or air leaks present.
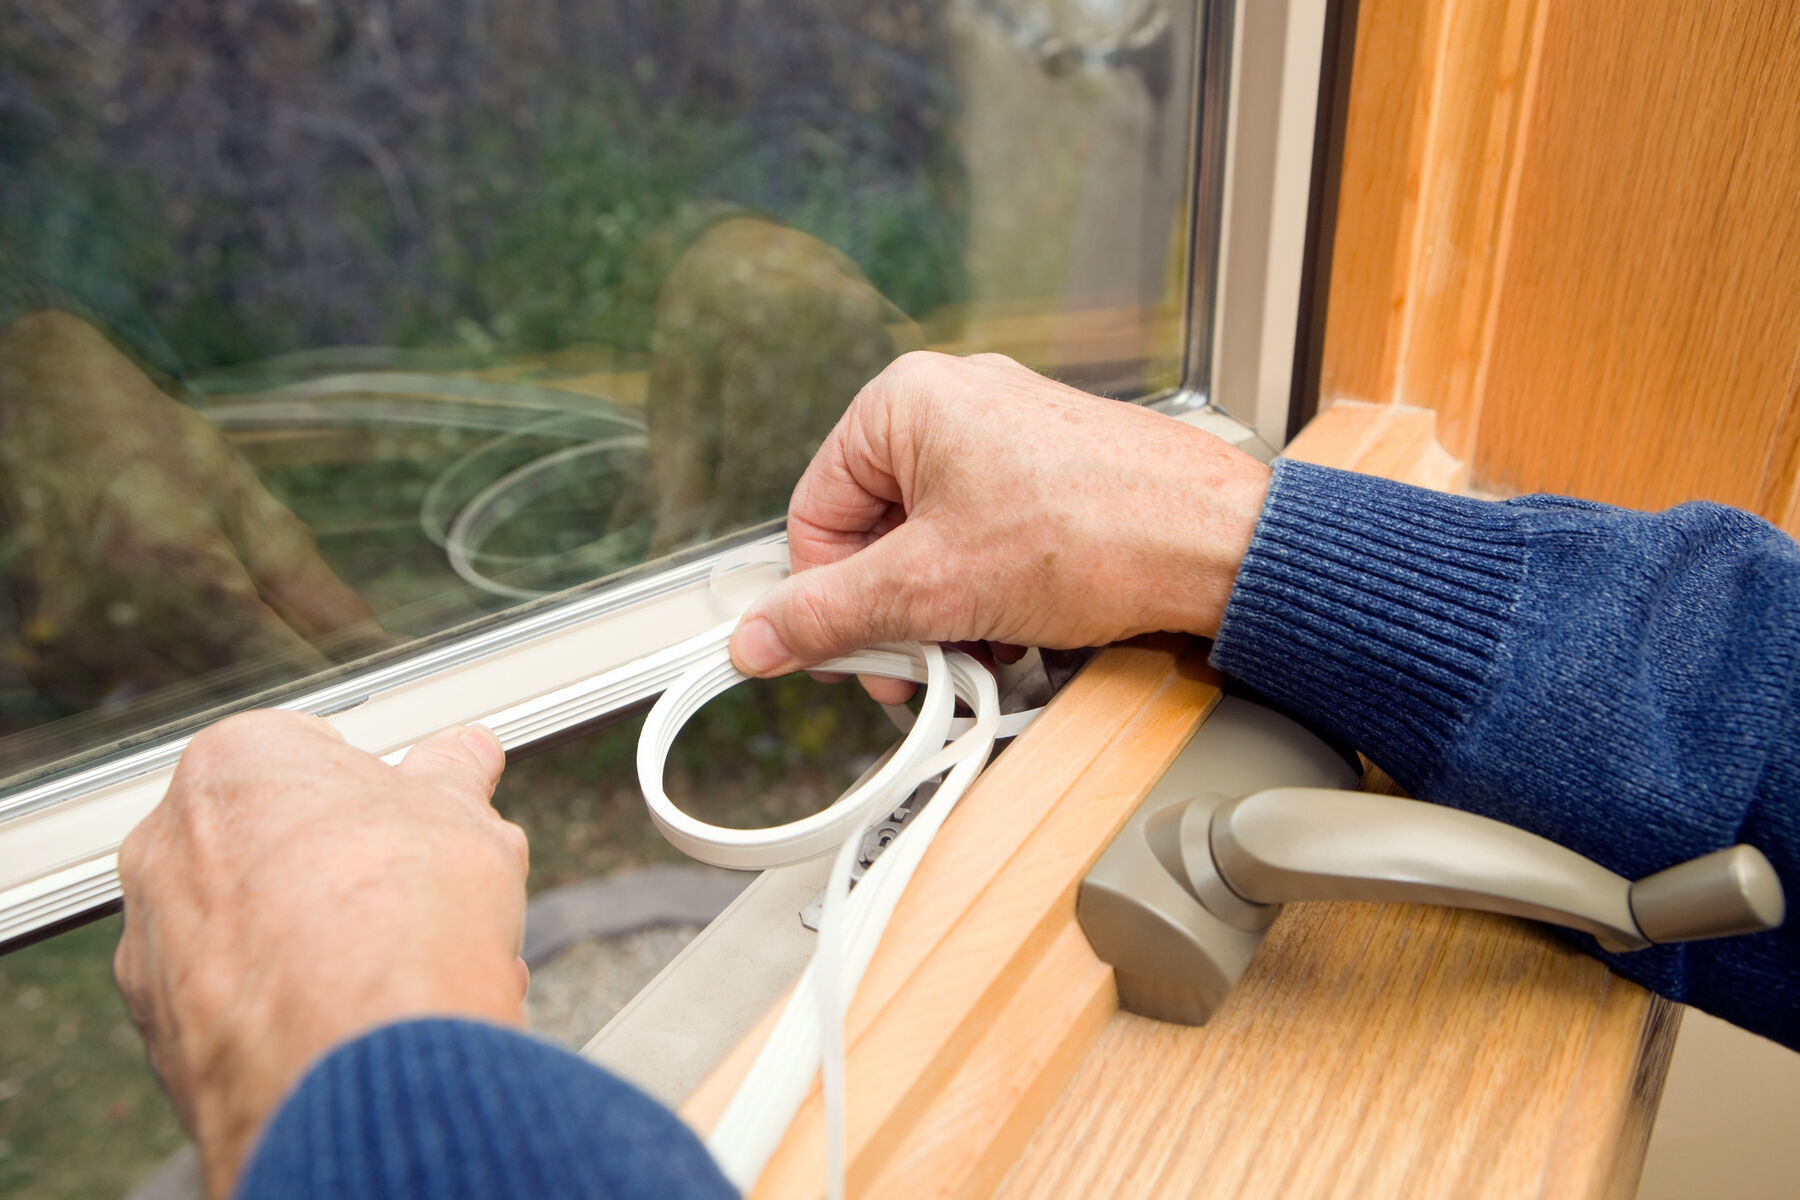
First, measure your window opening to determine if the window adapter kit needs to be trimmed or expanded to fit correctly. If there are any gaps, use weatherstripping or strips of foam insulation to create a tight seal. If your window adapter kit doesn’t work for your window, you’ll need to think of a different option. You might be able to find a universal adapter kit from your local hardware store, or you can take matters into your own hands by using a piece of Plexiglas or plywood cut to the correct size.
Step 3: Connect the Exhaust Hose
Once you’ve determined that the window kit will fit in your preferred window, find the exhaust hose that came with your unit and attach it to the air conditioner. Depending on the manufacturer, the exhaust hose may already have connecting hardware attached. If not, use a screwdriver to attach the connectors before fastening it to the unit. Then, take the other end of the hose and attach the window adapter bracket, if it’s not already attached. Once that’s connected, run the exhaust hose to the window and place the adaptor bracket into the open window.
Adjust the window sliders or panels (typically part of the included adapter kit) until they fill the gap between the exhaust hose’s connection bracket and the sides of the window. If you detect air leaks, it may be necessary to use duct tape to seal the connection. Wrap the tape around the hose and adapter to make a secure connection. Keep in mind that you should always refer to the manufacturer’s instructions before continuing if you feel unsure of any step.
More Related Articles:
- How Much Does It Cost to Install an Air Conditioner?
- What Size Air Conditioner Do I Need?
- HVAC System Going ‘Thump’ in the Night? Here’s Why It’s Making Noise
- So Your AC Went Kerplunk: Here’s What to Do Next
- Hot This Summer? Here’s Everything You Need to Know to Keep Cool
Step 4: Attach the Drainage Hose
Check to see if your portable air conditioning unit comes with a condensation drainage hose. Not all of them do. If so, you’ll want to make sure that you attach it to both the unit itself and its drainage point.
If you can run the hose outside, lead it to a location that will drain away from your home. Make sure that the water doesn't accumulate near your foundation. Another option is to let the condensation drain into a container like a bucket or a tray. Keep in mind that you’ll want the container to be large enough to hold the drainage for a period of time before emptying it and replacing the tray.
Some units come with their own enclosed drainage tank, so you'll also want to make sure this stays empty for proper use.
Condensation drainage systems vary from manufacturer to manufacturer. Some models have automatic shut-off features that prevent overflowing, while others require frequent draining. In any case, make sure you consult the instructions to learn how yours deals with drainage.
Step 5: Connect the AC Unit to a Power Source
After the unit’s exhaust hose and drainage hose have been connected properly, and the window adapter kit is securely attached, you can plug your portable AC unit in and power it on.
The joys of air conditioning don't have to be relegated to those who have central air conditioning. Portable units are cost-effective, flexible and easy to install, making them a great choice for those who live in small spaces and are on a budget. Moreover, portable units can also help manage energy costs for those in larger homes who want to keep cool without maxing out their central air conditioning systems.