How to Install a Pot Filler Faucet
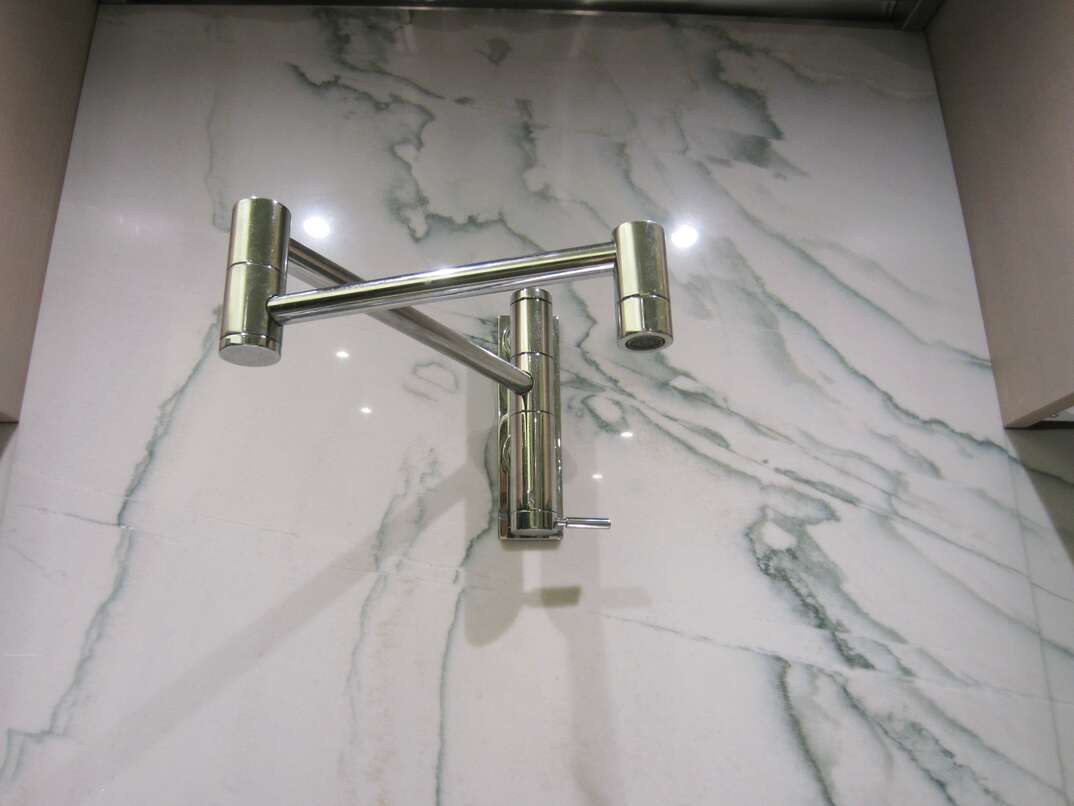
Are you tired of lugging heavy water-filled pots from your kitchen sink to your stove? Having a pot filler faucet — sometimes called a pasta arm — above your stove can save your arm muscles and make your life a little easier.
This May Also Interest You: How to Install or Replace Your Kitchen Faucet: A Step-by-Step Guide
But pot filler installation isn't always an easy process, especially if you don't have plumbing experience. Read this guide on how to install a pot filler to decide if it's a job you can handle or if you need to hire a professional plumber.
Where Should a Pot Filler Be Installed?
A pot filler faucet goes over your stove, so the faucet arm can swing out and sit directly over a pot. This way, you can position your pot on a burner and fill it with water without needing to move it. Check the instructions that came with the pasta arm you purchased and review local building code requirements to determine if there are any specifications to guide you on where to put it.
The specific height of the faucet can vary based on your preferences. According to Kingston Brass, the general recommendation is to install the pot filler faucet 16 to 36 inches (40 centimeters to 1 meter) higher than the top surface of your range. If you mount it too low, you won't be able to fit large pots under it. To get an idea of how high to mount it, place your tallest pot on the stove, measure it and add a few inches. Be aware that if you mount the pot filler too high, it can cause splashing, look awkward and be difficult to reach.
A location centered over the range is a common pot filler installation location. Consider how far out the pot filler faucet stretches to get an idea of how well it'll reach each burner. If you use one main burner for your large pots, you can choose an offset location near that burner. If your range is next to a side wall, you could mount the pot filler to the side wall.
Can You Install a Pot Filler Yourself?
If you're replacing an existing pot filler faucet during a kitchen remodel, you can probably do the work yourself. Replacing an existing faucet is a fairly straightforward process. You simply unscrew and remove the old pot filler and then install the new mounting plate and attach the new faucet to the existing supply line.
However, if you're installing a new pot filler where there isn't one, the process can be very complex. There most likely isn't already a water line running exactly where you need it. There might not even be a water line through that wall or anywhere close to the range.
That means the plumbing for the pot filler needs to tap into the closest existing line, which could be the line to your kitchen faucet, refrigerator icemaker or dishwasher. A new water line has to tie into that pipe and run to the pot filler location. If you're not familiar with plumbing, this part of the project is best left to a licensed plumber. A mistake in the installation could result in damaging leaks, low water pressure or other issues with your plumbing system.
What Plumbing Is Needed for a Pot Filler?
A pot filler is just a faucet that's located above your stove instead of over a sink. It needs to be connected to a water supply line similar to other kitchen faucets. Because the pot filler empties into a pot instead of a sink, you don't need any drains for it. This might sound simple, but tapping into existing water lines can be tricky.
More Related Articles:
- How Much Value Does a Kitchen Remodel Add to Your Home?
- How to Clean Your Kitchen Backsplash
- How to Install Kitchen Cabinets
- How Much Is a Farmhouse Sink?
- How Much Does a Kitchen Island Cost?
How Do You Rough-in a Pot Filler?
Before you can rough in your pot filler, you need to know the exact location that you want. The specific rough-in instructions might vary by model, so always refer to the manual for guidance. You'll need a stub-out pipe coming from your water supply. Most pot fillers require a threaded elbow to direct the water out of the wall toward the pot filler. You'll likely need to attach a 1/2-inch nipple. Review the pot filler instructions to determine the stub-out length, which is often about 1/2 inch (1 centimeter) past the wall or mounting surface. Once you finish the rough-in plumbing, you can complete the installation.
How Do Pot Fillers Attach to the Wall?
Pot fillers come with mounting plates that secure to the wall. The mounting plate typically goes over the plumbing and attaches to the wall using screws. Some pot fillers have two attachment points where they connect to the mounting plates. Your pot filler might come with a clip or gasket to connect it to the water supply line. Install these pieces as explained in the instructions and thread your pot filler faucet onto the pipe. Tighten any screws attaching the faucet to the mounting plates per the instructions.
Testing the Installation
Once everything is installed, test the installation to make sure it doesn't leak. Turn the water supply back on. Place a bucket underneath and turn on the pot filler faucet to ensure water flows to it without leaking. Let it run for several minutes to flush out any debris or impurities from the line, shutting it off to dump the bucket as needed.