How to Replace a Shower Handle
Replacing a Shower Handle at a Glance
- Step 1: Turn off water supply
- Step 2: Unscrew set screw
- Step 3: Remove handle from valve
- If handle is corroded: Add plumber’s lubricant
- Step 4: Remove trim plate
- Step 5: Wrap faucet stem with Teflon tape
- Step 6: Screw handle in place
- Step 7: Replace trim plate
As wonderful as your shower might be, there are certain things that can always improve your experience — a nice showerhead, a superior sponge, the perfect arsenal of soaps and shampoos and, of course, a nice, functional handle that doesn't leak.
This May Also Interest You: Showerhead Stuck? Here’s How to Remove It
The good news is that replacing this essential shower control and its accompanying trim is an extremely simple task that you can knock out quickly without eating into your precious shower time.
 ----------------------------------------
Can You Replace Just the Shower Handle?
Yes. In fact, sometimes, just changing the shower handle without replacing the valve makes the most sense. A shower handle gets the brunt of the whole “taking a shower” business — getting twisted and turned, pushed and pulled. It’s no wonder they age quickly. Perhaps the style or finish isn’t to your liking, and you’re left wondering how easily you can upgrade without having to call in a plumber.
For this particular project, ye should fret not. In most cases, replacing the shower knob or handle is a pretty straightforward task. Consider the following guide to help you remove a shower faucet handle, install a new one and get on with your day.
 -------------------------------------------
How Do You Replace a Single-Handle Shower Faucet?
Shower handles come in a variety of styles, including single-, double- and even triple-handle styles. If you’re working with a shower-tub combo, you might have any one of these setups. A stand-alone shower is more likely to have a single handle, but double handles are also sometimes used. Regardless of what kind of handle you have, the removal and installation process for a replacement is essentially the same.
That said, unless you are committed to replacing your entire shower valve assembly, you should only try to replace a handle of the same style. In other words, if you currently have a single-handle style, then you’ll need to look for another single-handle one to replace it.
Also, keep in mind that if you only plan to replace the shower handle (or handles), you obviously want to make the replacement as close to a match in style and color finish as possible to the rest of the fixtures in your shower or tub. Replacing a tub spout, for example, is a slightly trickier process than handle replacement, as spout lengths and their water pipe counterparts vary. So, if you can get away with just replacing the handles, it’ll save you some time.
If you’d like to try to buy from the same manufacturer, one trick is to look behind the trim plate for a brand name or manufacturer symbol if the name isn’t listed on the handles themselves. Take a look around for a model number while you’re at it, as model numbers are also sometimes listed behind trim plates or even under the tub spout.
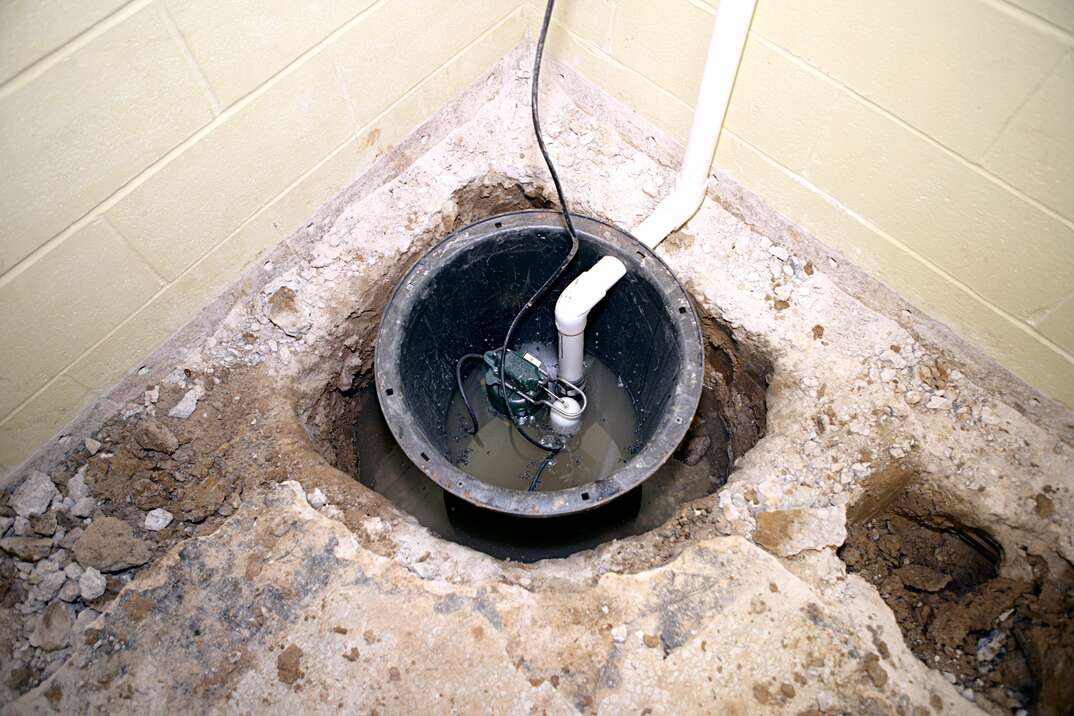
Before you begin, use a drain stopper or drop cloth to block the drain opening to keep any small screws or other components from falling down the drain. Dropping small screws happens often and having them promptly vanish into the depths of your plumbing means halting your shower handle replacement project and heading up to your local hardware store to find the right screw.
More Related Articles:
- How Much Does It Cost to Replace a Showerhead?
- How to Install Shower Doors: A Step-by-Step Guide
- How to Replace a Showerhead
- What Is a Shower Diverter Valve (and Why Should You Care?)
- How to Clean a Showerhead
Do I Need to Turn Off the Water to Replace a Shower Handle?
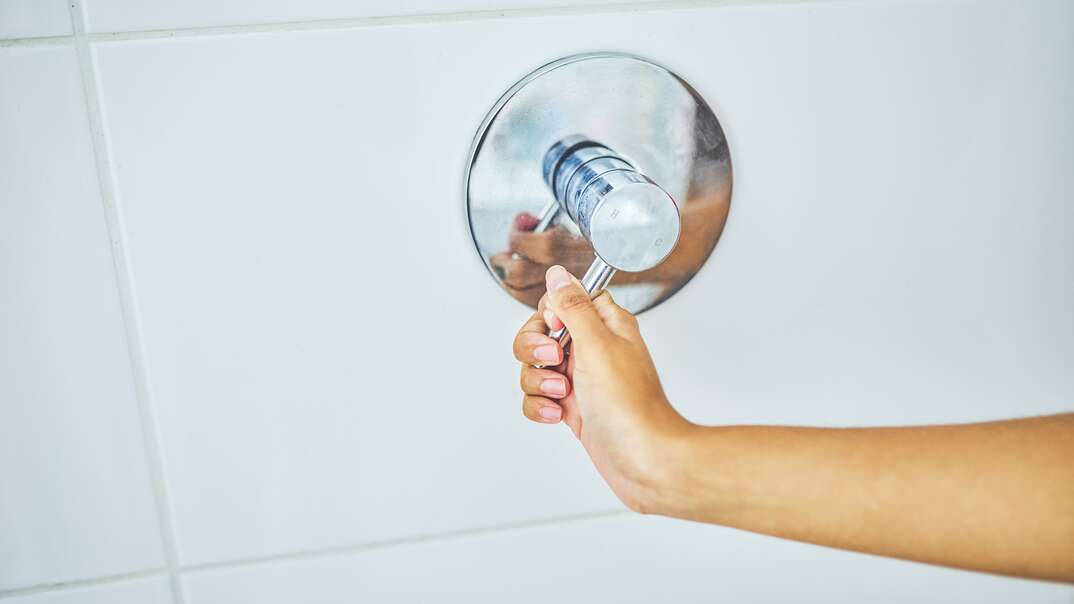
The first step in a shower knob replacement is to turn off the water supply. Many showers have supply shut-off valves on the back or sides of the shower unit, but they’re usually hidden behind the wall. If you’re not in the middle of a larger shower remodel and you don’t have access to those supply lines, you’ll need to shut the water off to your entire home at the main shut-off valve. Once the water is shut off, place the valve in the on position to remove any excess pressure that might still be in the water pipe.
Removing the Handle
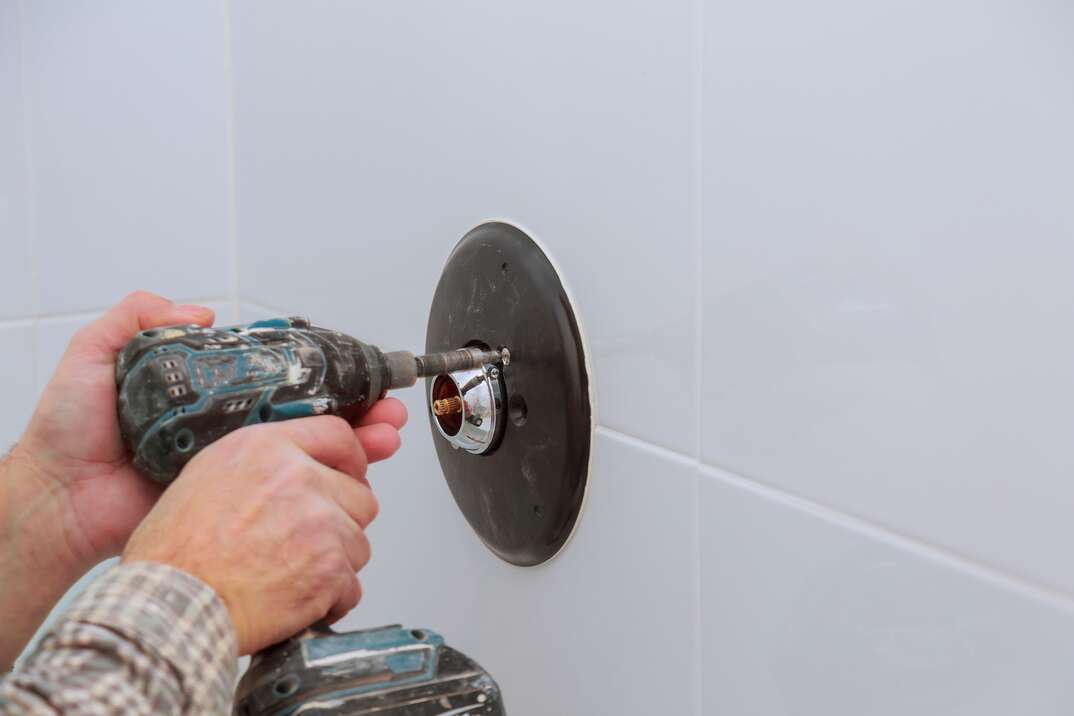
Next, find the shower knob handle’s screw. Depending on the style of shower handle, it could be under the decorative cap, or there could be a set screw underneath the handle. Unscrew the set screw using a hex-head wrench or a small Phillips screwdriver. When the set screw has been unscrewed, remove the handle from the valve.
Keep in mind that older handles can be pretty difficult to remove, especially if they’re corroded. If you find yourself in this situation, you can apply some plumber’s lubricant to the handle or use a special tool called a handle puller.
After the handle has been pulled off the valve, remove the escutcheon plate from the wall. Also called a trim plate, this is the panel that covers the hole in the shower wall leading to the valve body.
Installing the New Handle
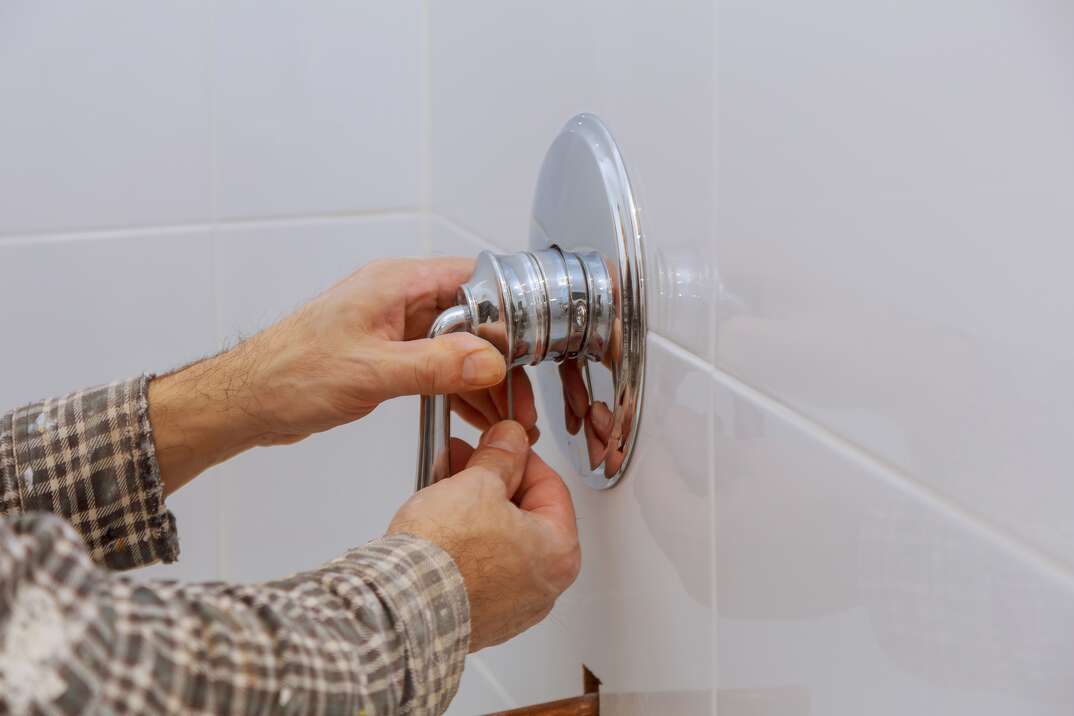
Once you’ve removed the trim plate, you can begin the process of installing the new handle. For this step, wrap Teflon tape around the base of your faucet stem. Slide the new handle onto the faucet stem and screw it in place using the supplied set screw. For double- or triple-handle systems, the method is the same: Wrap Teflon tape around each stem and screw the handles into place using the supplied screws.
After the handles have been secured, place your trim plate over the top of your new handle and snap or screw it into place, depending on the brand of your trim kit. Once your trim plate has been installed, turn back your water supply back on and enjoy your new faucet.
Small Project, Big Reward
One of the easiest ways to upgrade a shower is changing out the hardware for a more updated look or greater functionality. It’s the kind of quick and painless project that will make you question why you didn’t tackle it sooner.