How to Test a Water Heater Element
Testing a Water Heater Element at a Glance
- Tools: Screwdriver, digital multimeter, non-contact voltage tester (optional)
- Step 1: Shut off power
- Step 2: Remove metal covers
- Step 3: Take out insulation
- Step 4: Locate heating element
- Step 5: Verify electricity is off
- Step 6: Check element with multimeter
- Step 7: Reassemble water heater
Among the several possible reasons your water heater isn’t producing hot water, a faulty heating element is one of the most common. Fortunately, testing the heating element is one of the easiest diagnostic tests you can do yourself. You don’t need to drain the tank or mess with any gas, water or electrical lines.
This May Also Interest You: How Do I Turn My Water Heater On
Before you shell out the big bucks for professional repair — or full replacement — of your water heater, take the following steps to see if the heating element is the culprit.
Signs of a Bad Water Heater Element
As easy as it is to test the element, it’s a good idea to know the most common signs of a bad heater element to determine whether testing it is even warranted. Symptoms of a bad heater element include:
- Lukewarm water
- Small amount of hot water
- No hot water
- Hot water runs out faster than usual
- Water heater’s circuit breaker constantly trips
Most full-sized residential water heaters have two heating elements (top and bottom), but smaller water heaters may only have one. For water heaters with two elements, each one serves a slightly different purpose. Consequently, you can usually determine which element has failed based on the specific symptoms you’re experiencing.
Symptoms of a Bad Upper Heating Element:
- No hot water
- Hot water doesn’t reach the temperature set on the thermostat
Symptoms of a Bad Lower Heating Element:
- Small amount of hot water
- Hot water runs out faster than usual
If you’re experiencing any of these symptoms, you can be fairly confident testing the elements won’t be a waste of time.
Tools Required
- Screwdriver
- Digital multimeter
- Non-contact voltage tester (optional)
How to Test the Element
Step 1. Shut off the Power
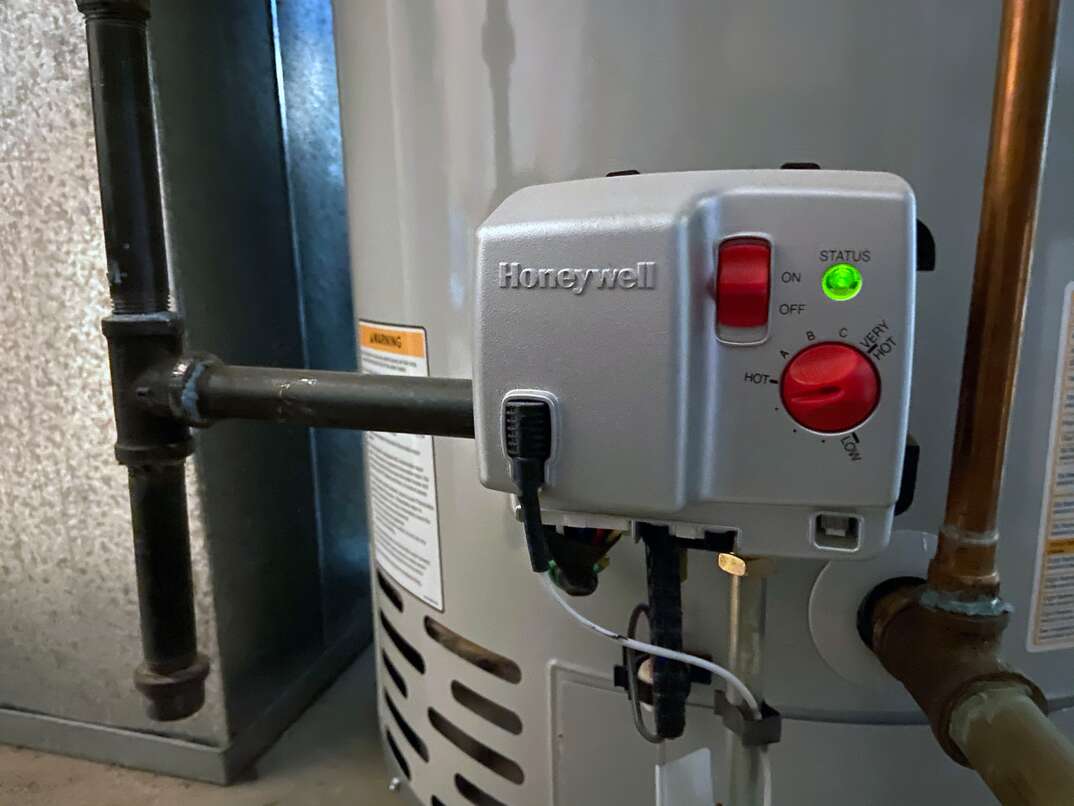
Since testing the heater element involves working with electricity, it’s important to turn off power to your water heater to ensure safe working conditions. To do so, you need to shut off the circuit breaker that powers the water heater. This circuit breaker will be located in your home’s central breaker box, a 1-foot by 2-foot metal box usually located in the garage, basement or under a stairway.
The electrician who wired your home should have labeled which breaker goes to your water heater inside of the breaker box. Turn off the breaker that corresponds to your water heater by flipping it to the side marked “off.” If the breaker isn’t labeled, either shut the power off to your entire home with the main breaker (usually located at the top of the box) or turn off all the double breakers — those that have two breakers linked together.
Step 2. Remove the Metal Covers
There should be one or two metal plate covers on the side of your water heater. These covers house the thermostat and heater element and are held in place by two or more screws that usually have Phillips heads. Remove these screws with a screwdriver or power drill with the appropriate bit.
Step 3. Remove the Insulation and Plastic Covers
Most water heaters have a layer of insulation and a thin plastic shield between the metal cover and heater element. The insulation can either be a rigid foam or flexible fiberglass insulation. You should be able to remove foam insulation by hand in one piece, but it may have to be pried or cut out in some cases. Fiberglass insulation may need to be carefully cut away with a utility knife.
The plastic shield is usually clipped into metal tabs on the water heater. It should snap out after pulling with light to moderate pressure. Care should be taken not to damage either of these components since they will be reinserted after your test has been completed.

Step 4. Locate the Heating Element
The thermostat and heating element should now be visible. The thermostat is often rectangular with several electrical wires connected to screws on either side of it. It’s located above the heating element.
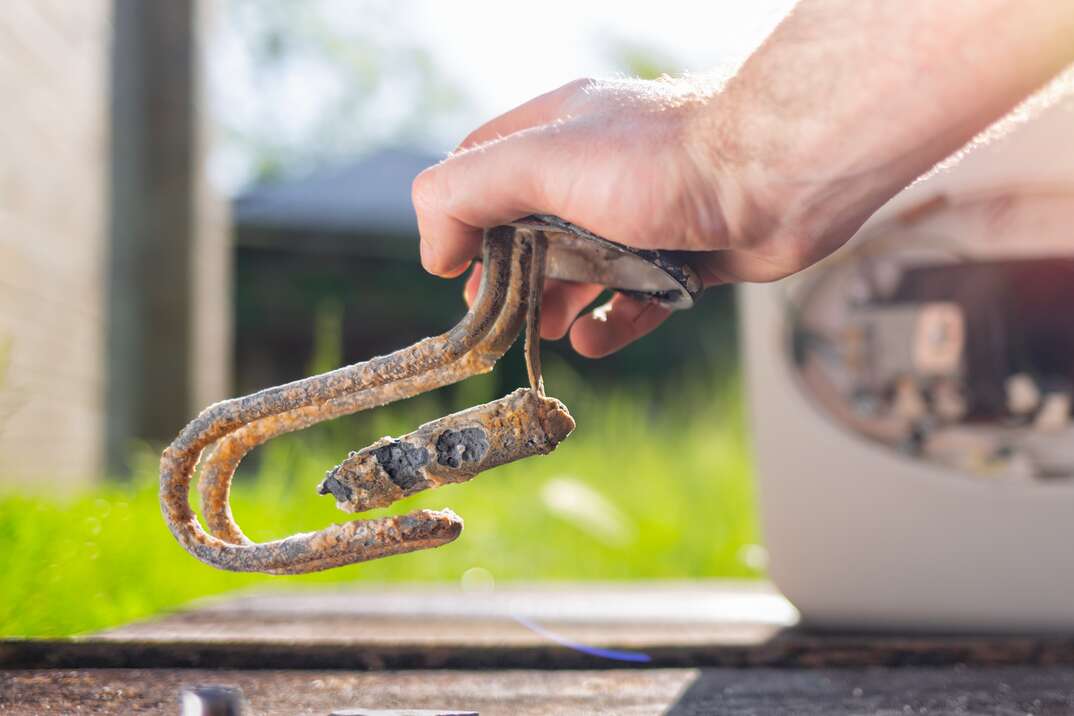
The actual heating element is inside the tank. The visible portion is the approximately 1-inch square base (or “end point”) with two screws that have electrical wires running to them. These two screws are where you will be performing your test.
More Related Articles:
- How to Relight Your Water Heater’s Pilot Light
- Don’t Forget to Flush! A 6-Step Guide for Flushing Your Gas or Electric Water Heater
- A Tankless Job? Decide Whether a Tankless Water Heater Works for Your Home
- What’s a Smart Water Heater?
- 7 Tell-Tale Signs of a Water Heater Not Working
Step 5. Verify the Electricity Is Off
Confirm the power is off with a non-contact voltage tester or a multimeter. A non-contact voltage tester is a device shaped like a pen that will illuminate or beep when in close proximity to an electrically charged (“live”) wire. It simply needs to be placed near the electrical wires running to the thermostat and heater element to determine the electricity is off. If it lights up or beeps, that means the wires are still live and the electricity wasn’t properly shut off.
To test with a multimeter, turn the dial to the setting for alternating current, which is usually displayed as “V~.” Touch the red probe to one screw and the black probe to the other screw. You should not be registering any electricity. If you see a reading of 110 to 130, that means there is still electricity going to the water heater. Test again after switching the probes around. Place the red probe on the screw where you had the black probe previously, and the black probe where you had the red probe. Doing so will help to ensure you’re getting a reliable reading.
Step 6. Check the Heater Element With Your Multimeter
The functionality of a heating element is determined by the resistance in the circuit, which is measured in ohms (Ω). Turn the dial of your multimeter to the lowest ohms setting. Touch the red probe to the center of one of the heating element screws and the black probe to the other screw. It doesn’t matter which probe touches which screw when measuring the resistance.
If the heating element is working correctly, your multimeter should read somewhere between 10 and 30 Ω. If the reading is below that (i.e., 0 or 1), your heating element is faulty and needs to be replaced. Repeat this step on the other heating element if your water heater has two.
Step 7. Reassemble the Water Heater
Whether your heating elements are working properly or you replaced a faulty one, it’s time to reassemble your water heater. Reinstall the plastic cover over the heating element (if equipped), and reinsert the insulation. Finally, turn the water heater’s breaker back on. If you replaced a heater element, you might have to wait a few hours for the water to heat up so you can confirm your repair was successful.
